
How to make a bunting garland
A few months ago, I made a super cute garland with pompoms which is still hanging happily in my living-room but even though it’s super colourful, I feel like wool is a medium that I prefer to work with in the darker months of the year. So the idea of making a different garland with spring vibes has been floating around my brain for a while. What to do, what to do? A bunting garland with vintage fabric!
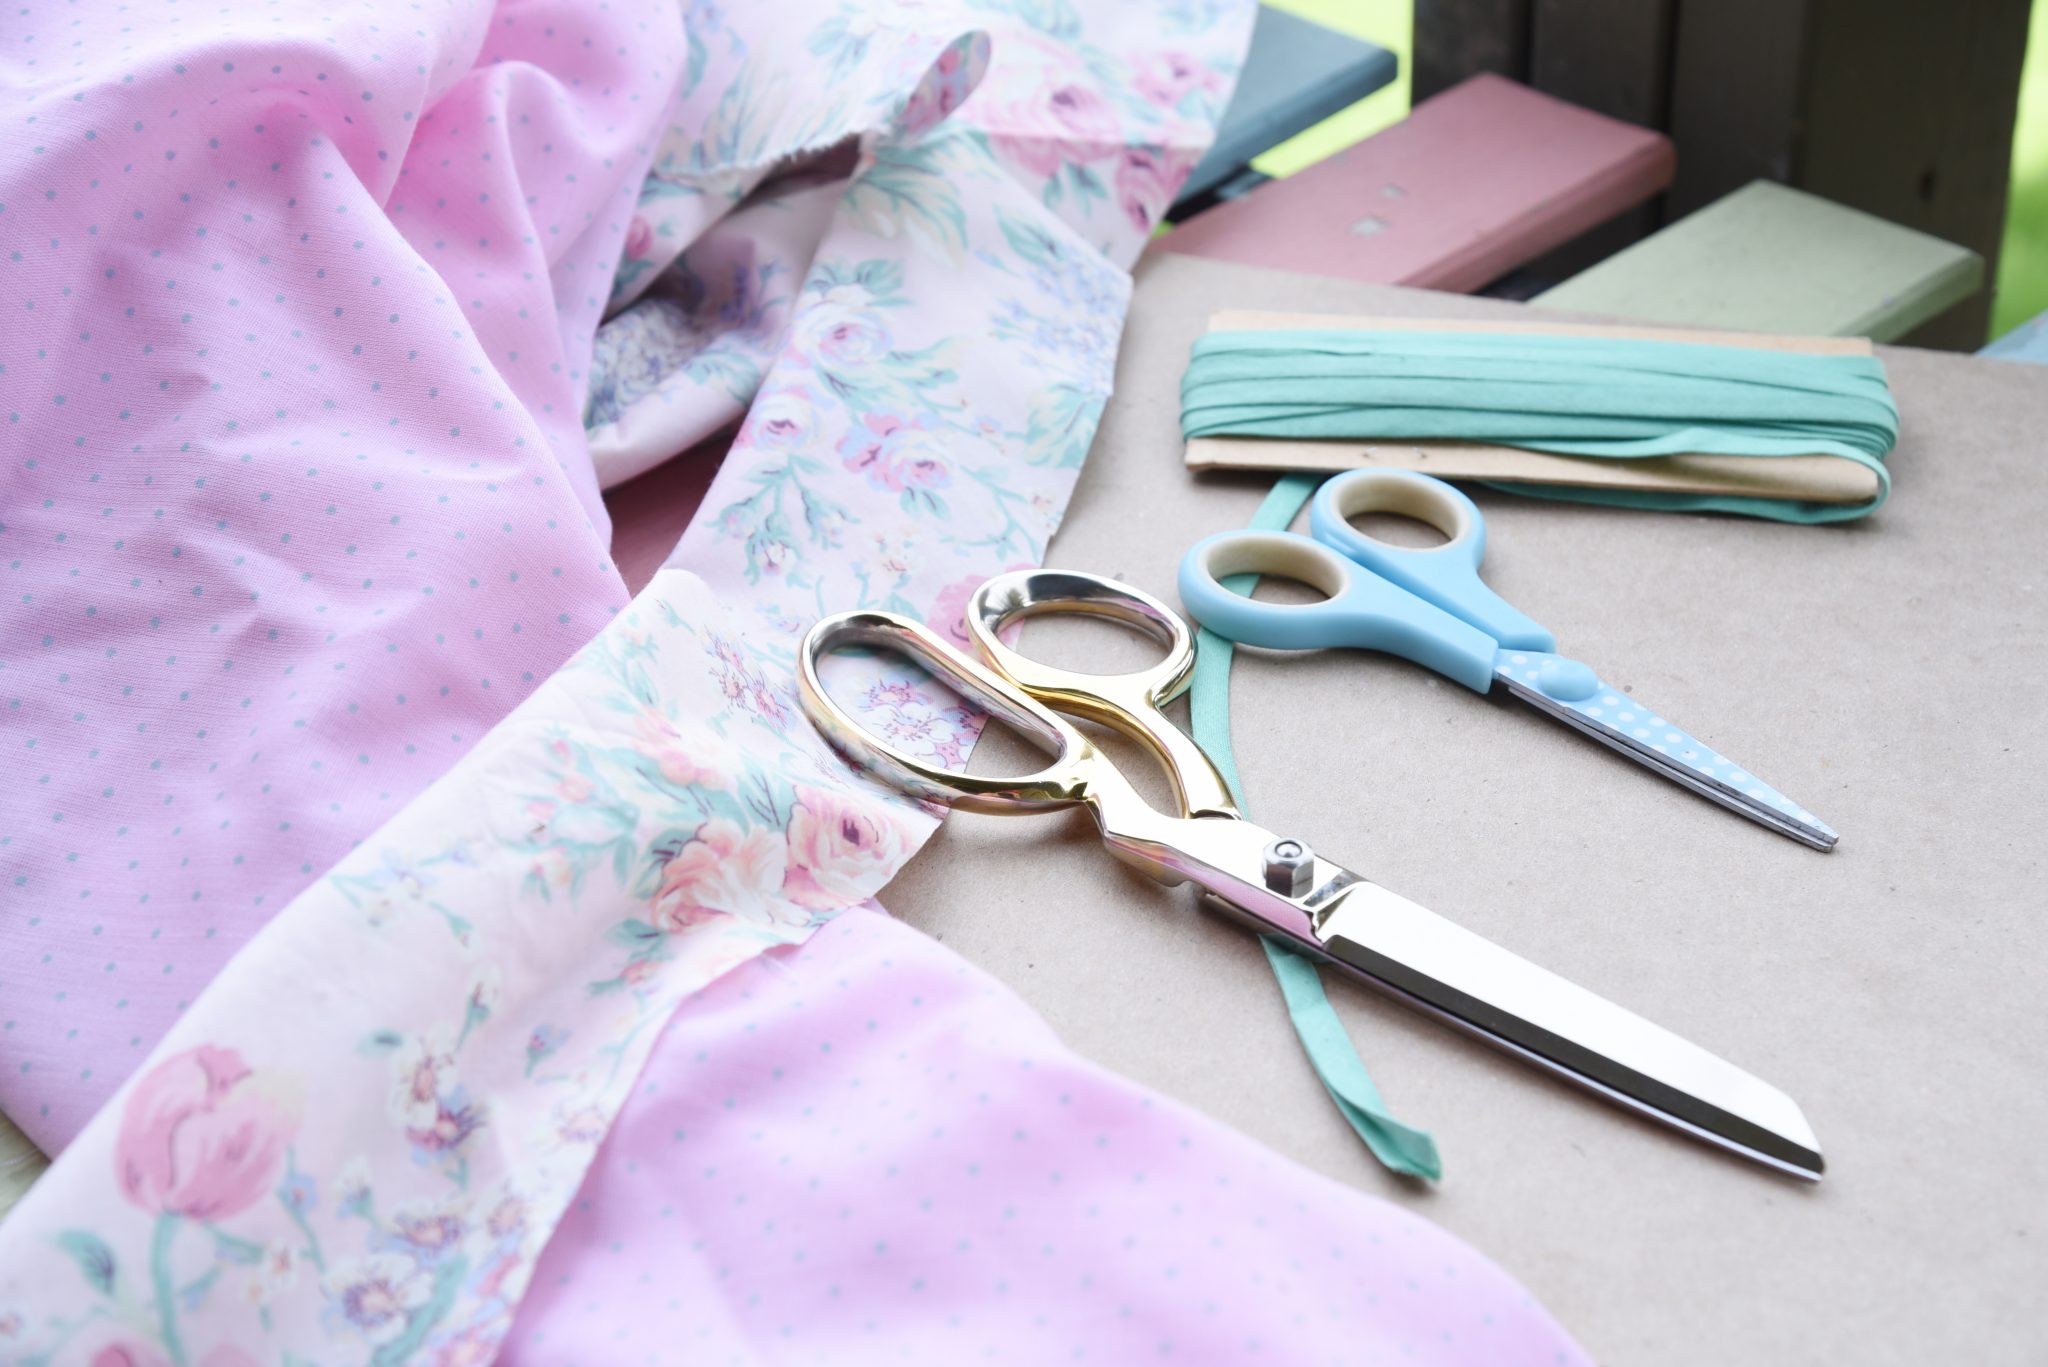
If you want to follow along, this is what you need to make the Maple And Oak bunting garland:
- Fabric scissors
- Crafting scissors
- 2 different kinds of vintage fabric, ca. 80 cm x 25 cm
- Sewing machine
- Cardboard
- Pen/sharpie
- Fusible interfacing
- Bias tape
- Iron
- and a chop stick
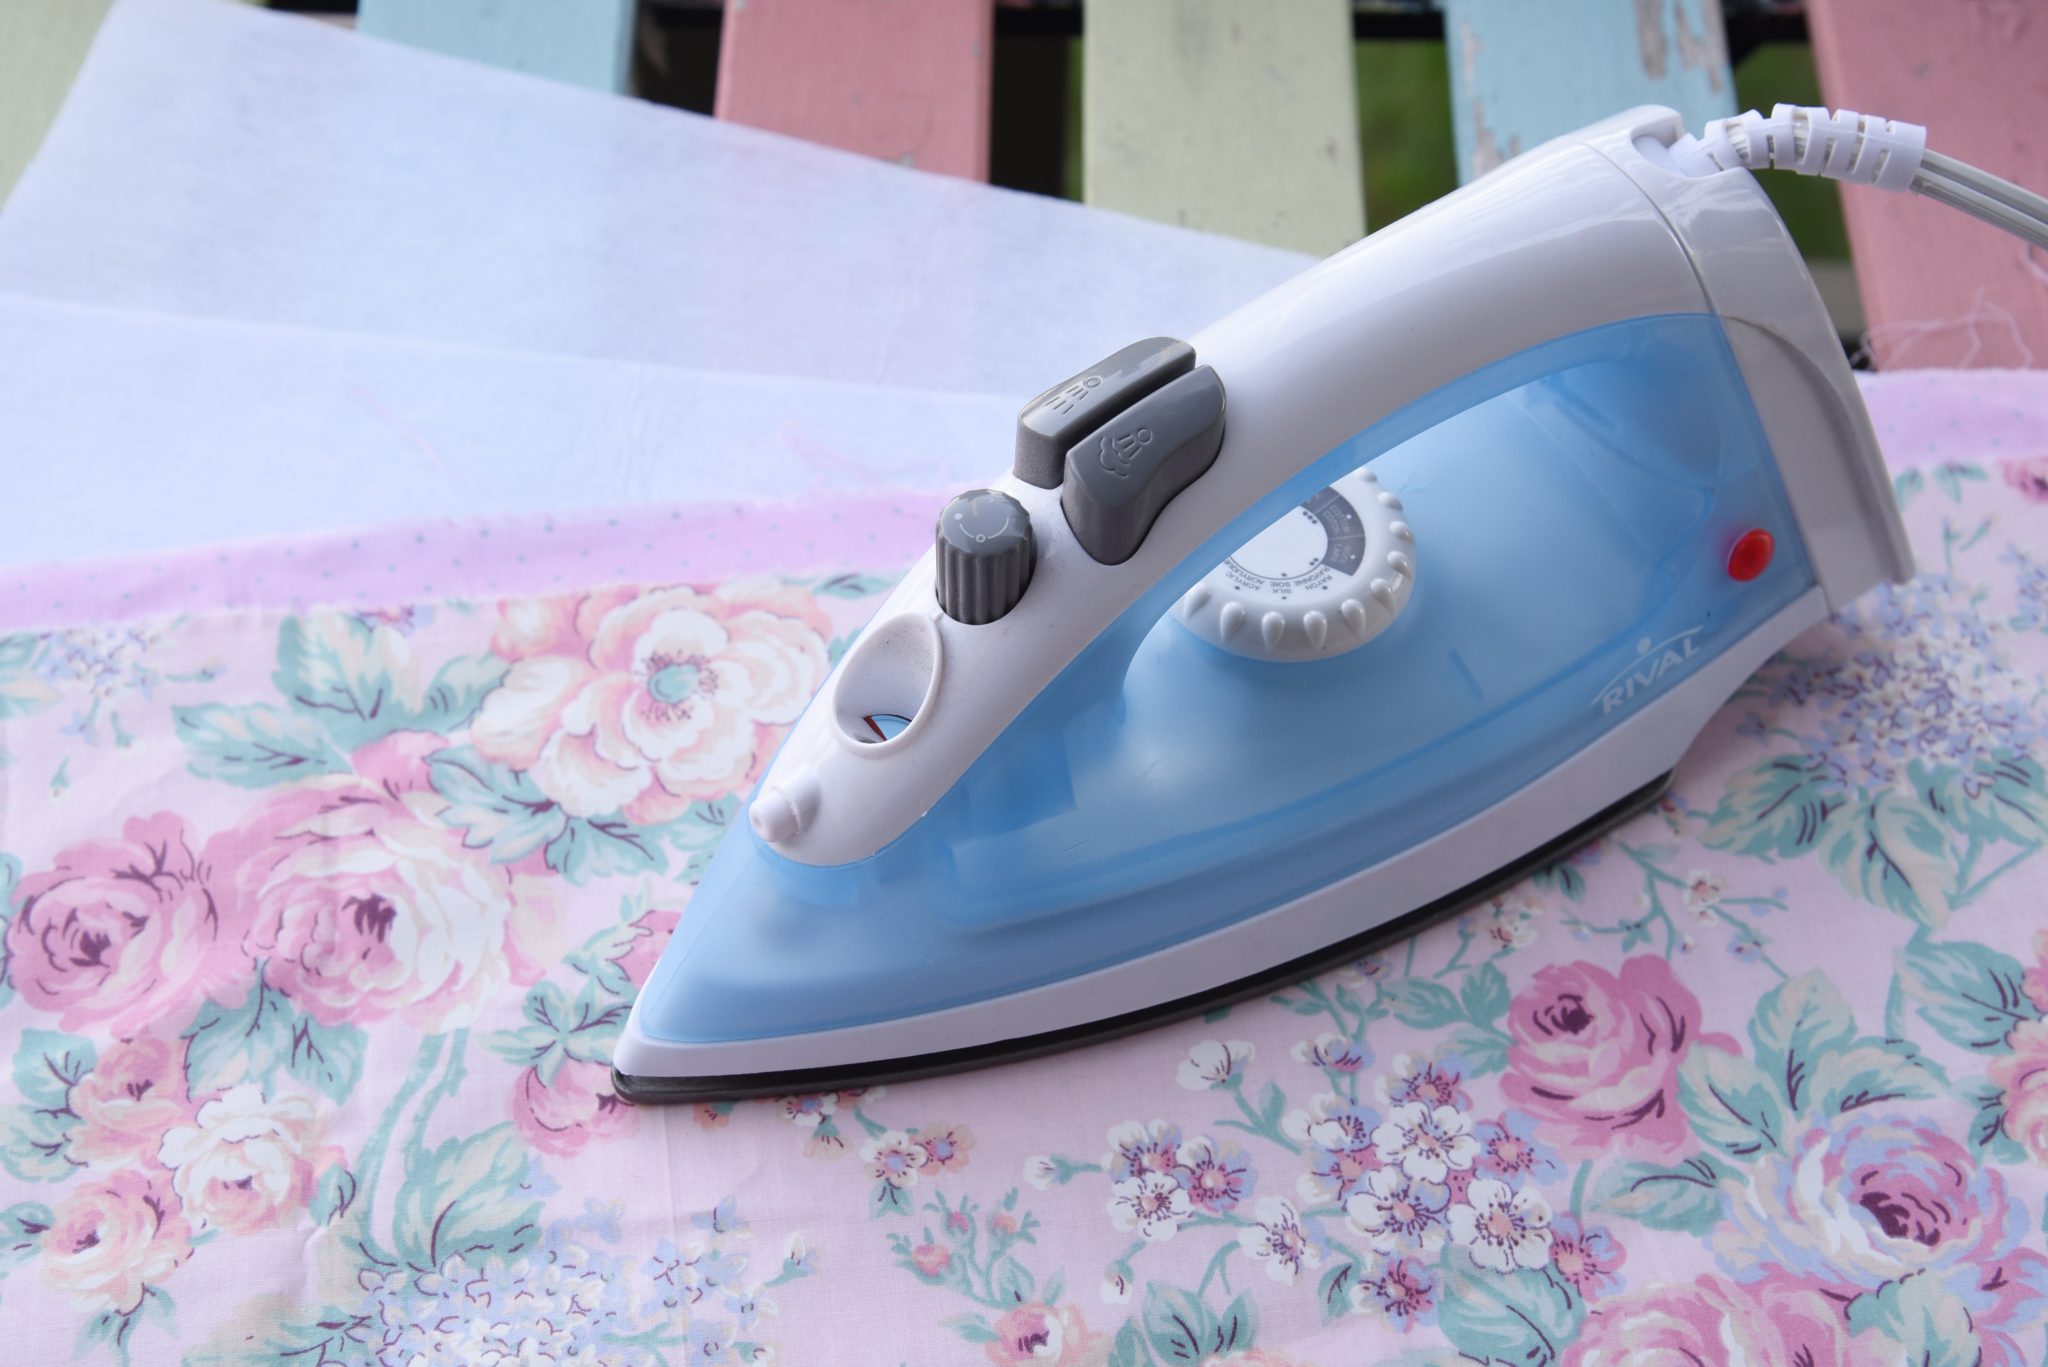
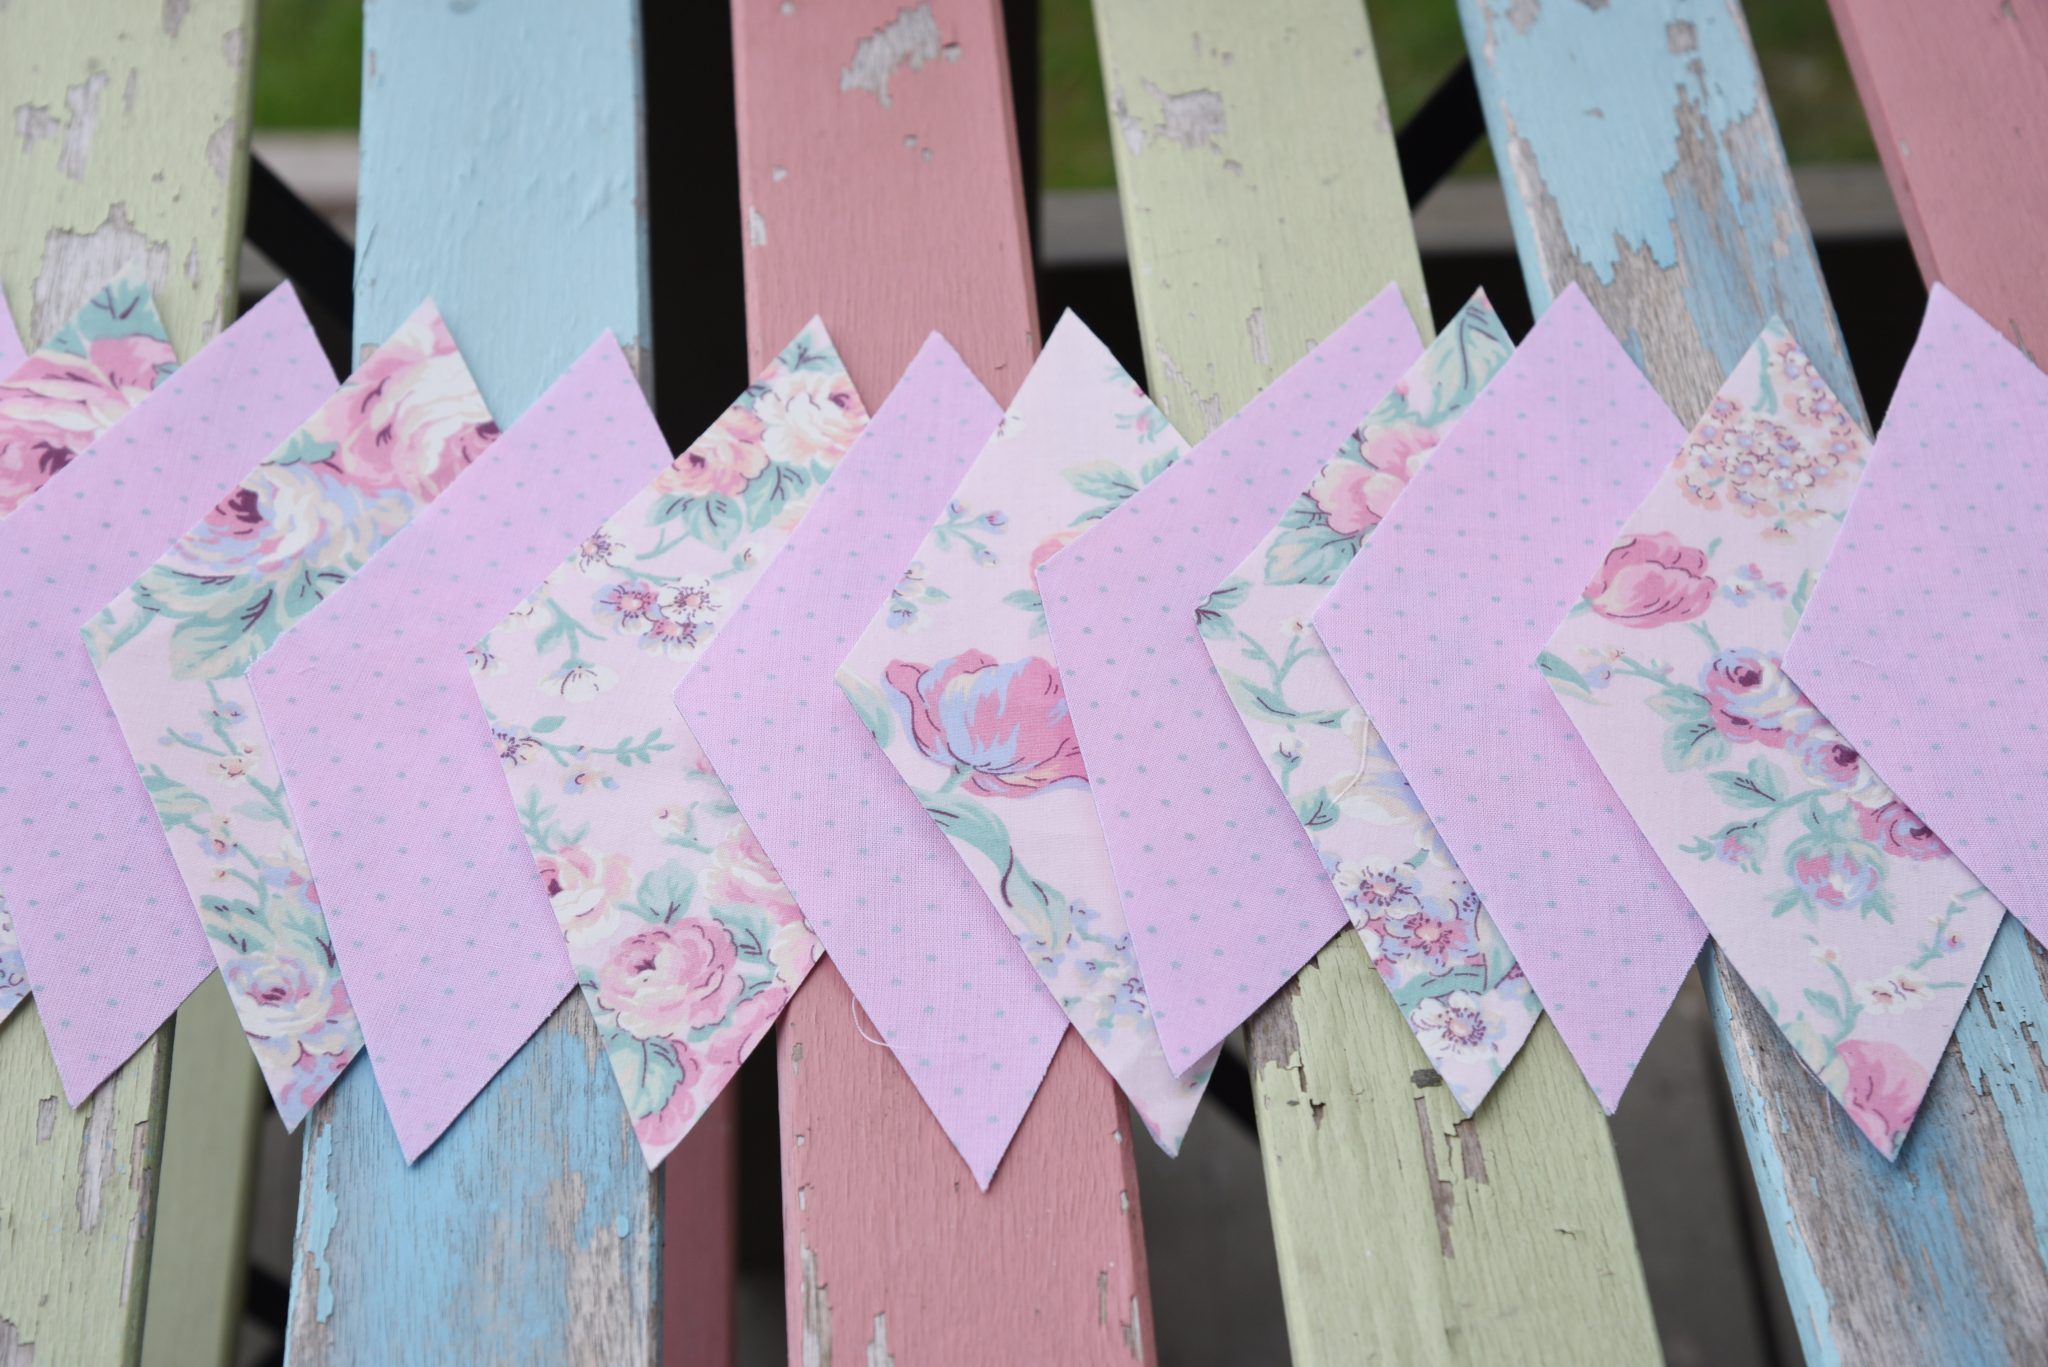
First, we want to fuse our fabric to the fusible interfacing. I chose two sweet vintage fabrics: pink with light grey polka dots and a mint green, light pink floral number. Make sure to put the wrong side of the fabric on top of the shiny side of the interfacing. The right side of your fabric will be facing up. Then iron until you can feel them fuse together and your fabric get stiff.
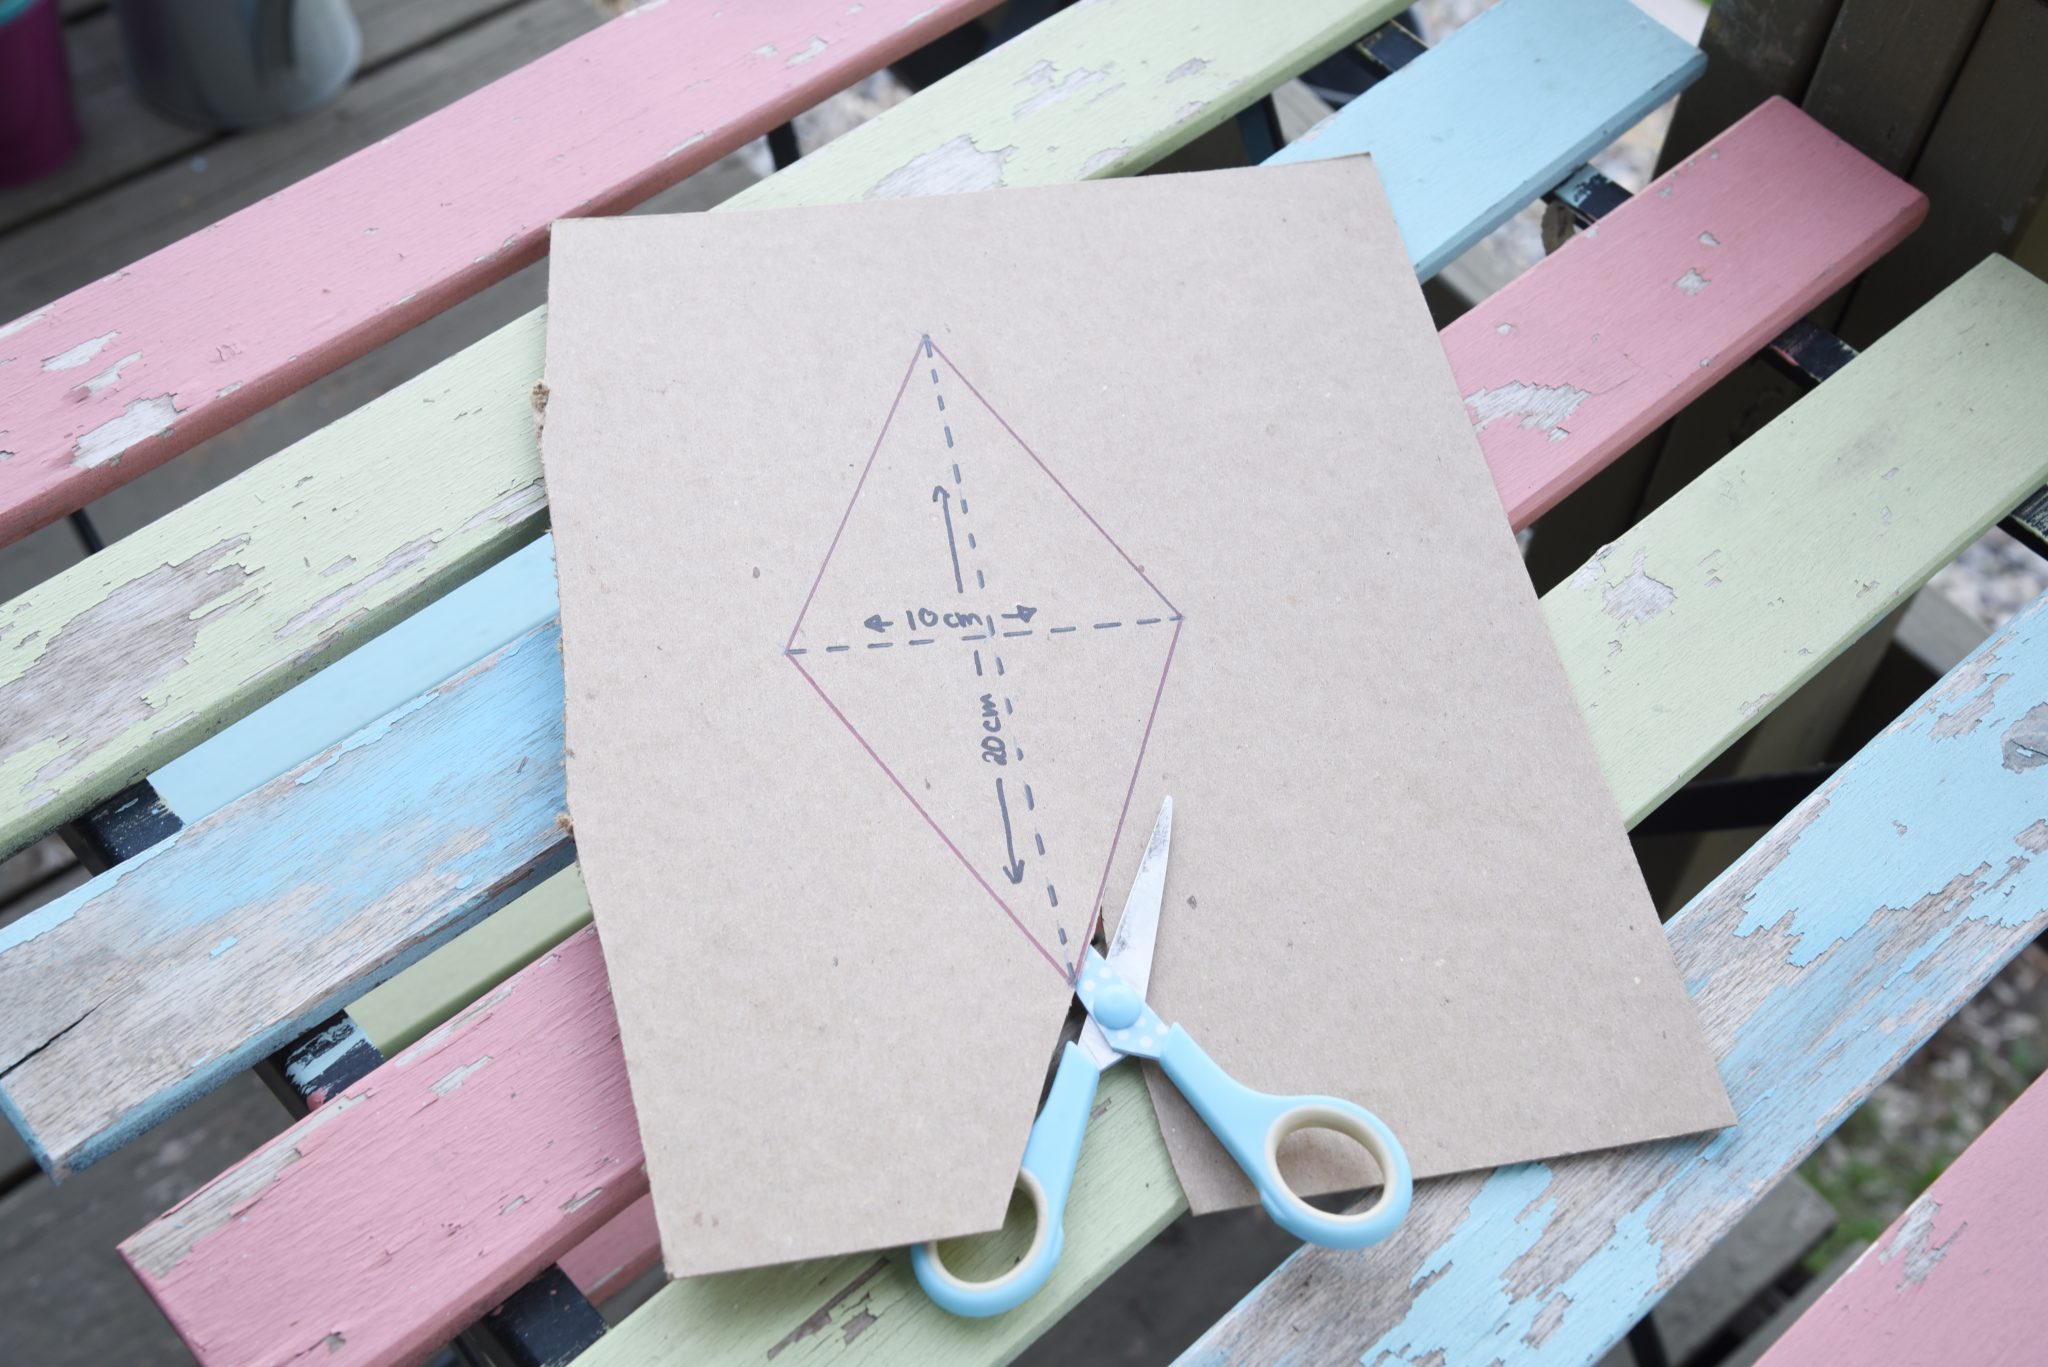
Next, we’ll make a template for our bunting garland. It will be a diamond shape, you can make it as big or small as you like (just make sure you’ve got enough fabric). Mine measures 10 cm at its widest point and 20 cm top to bottom.
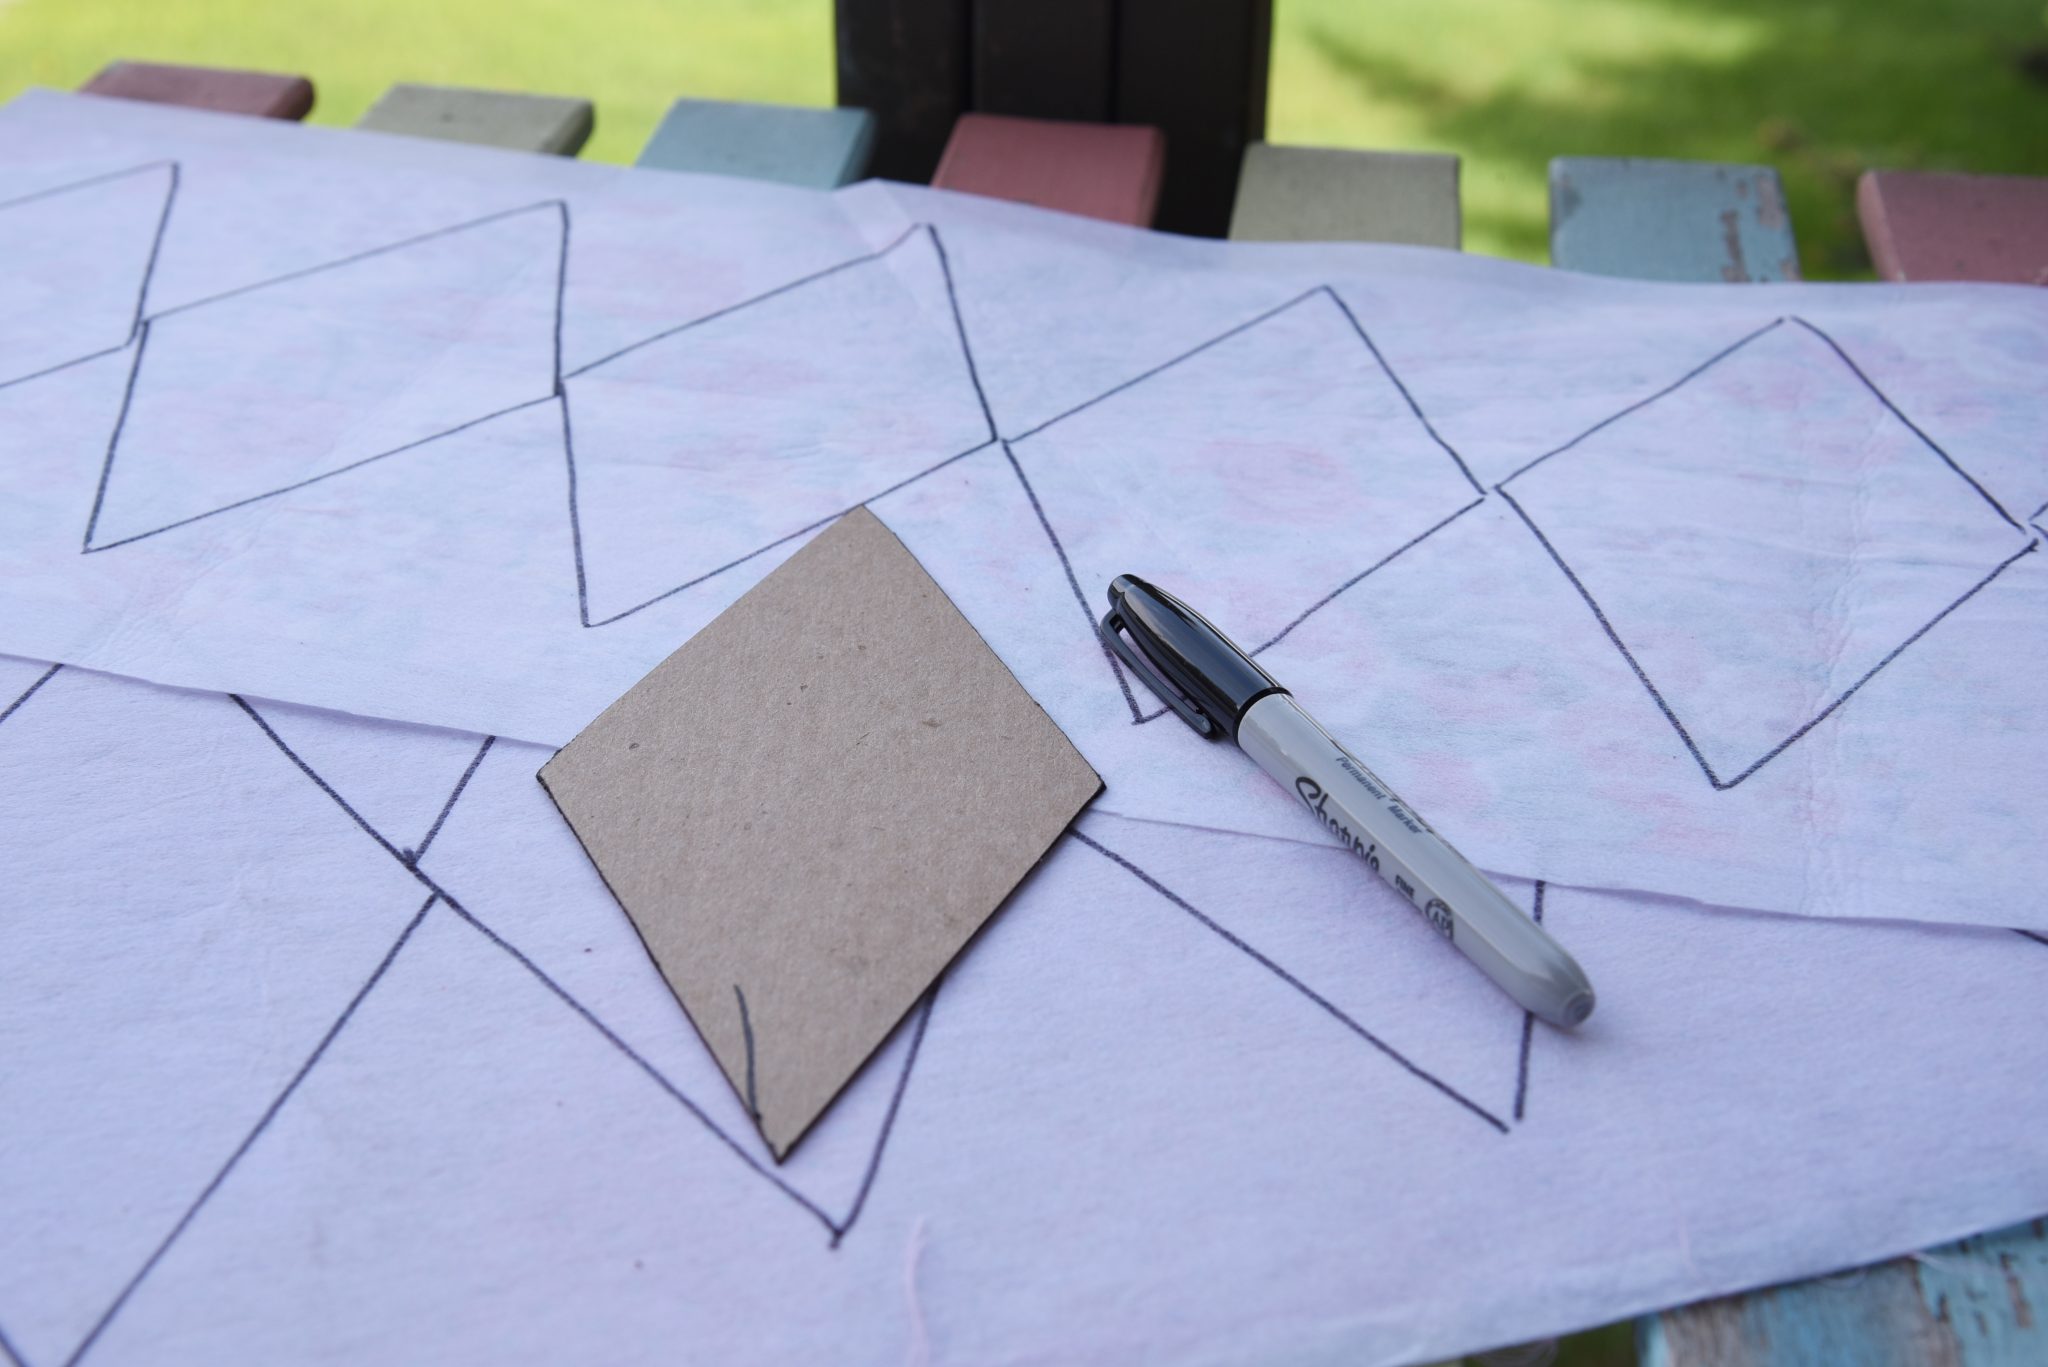
Outline the fabric diamonds and cut them out. I ended up having 7 polka dot and 7 floral diamonds. Aren’t they just adorable?
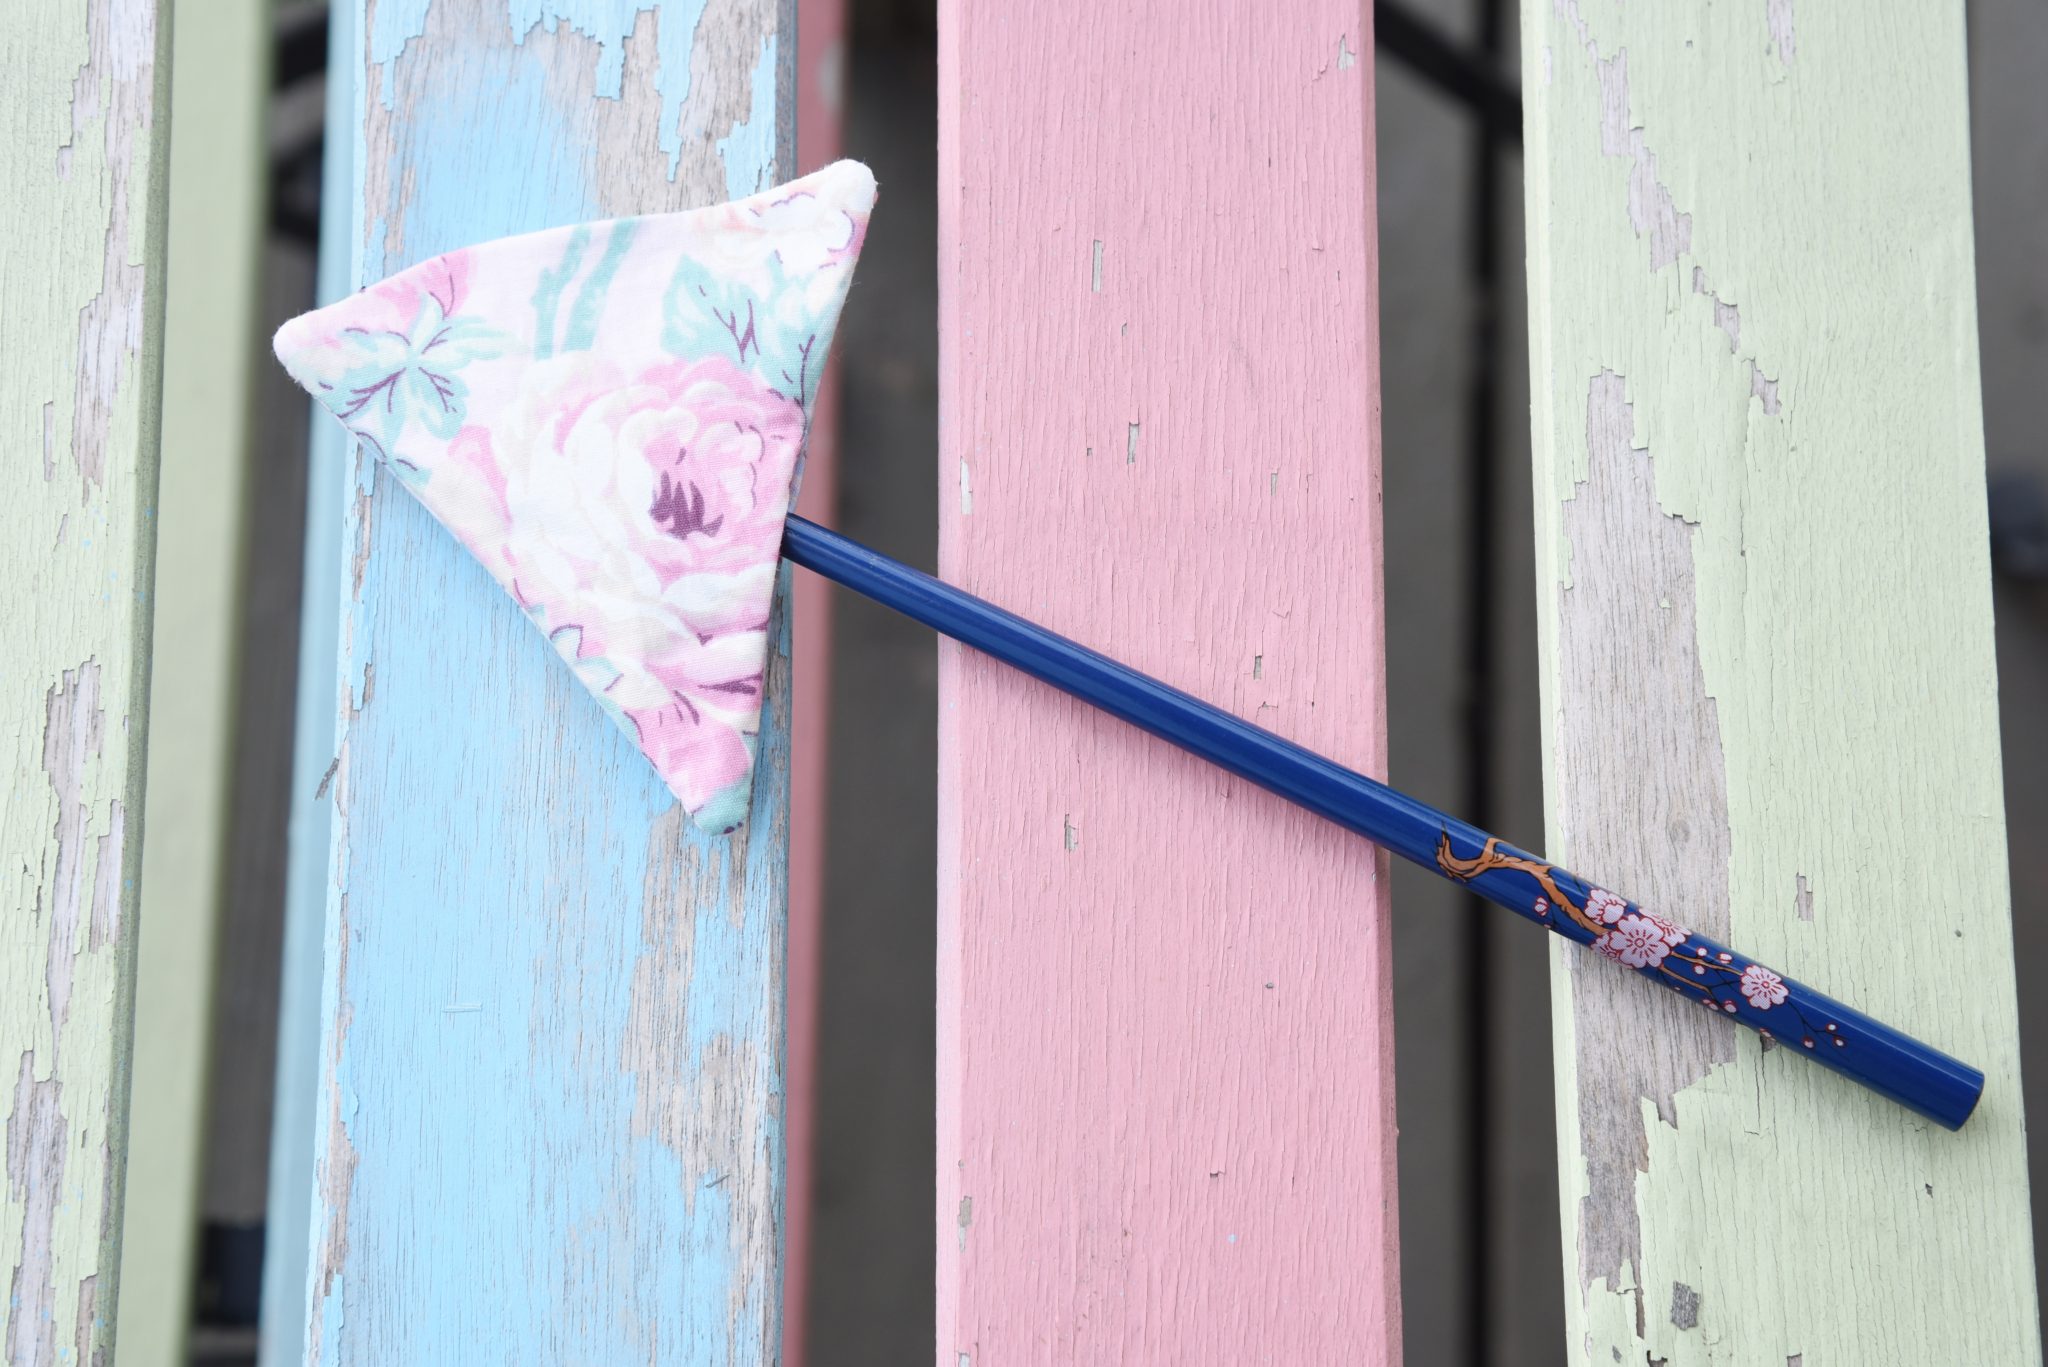
The next step is to fold the diamonds in half so they look like a triangle, right side onto right side. Sew around them, leave just a little space open. I used black thread, so it’s easier for you to see what I have been doing – unfortunately it also makes it easier to see when your seams end up a little bit crooked.
After all your diamonds have been transformed into little triangles, turn them right side out. They might be a little stiff because of the interfacing (which, in the end, is the point of the interfacing) but it’s absolutely doable. And then use the chop stick, to poke, poke poke (carefully) into all three corners so they become nice sharp corners.
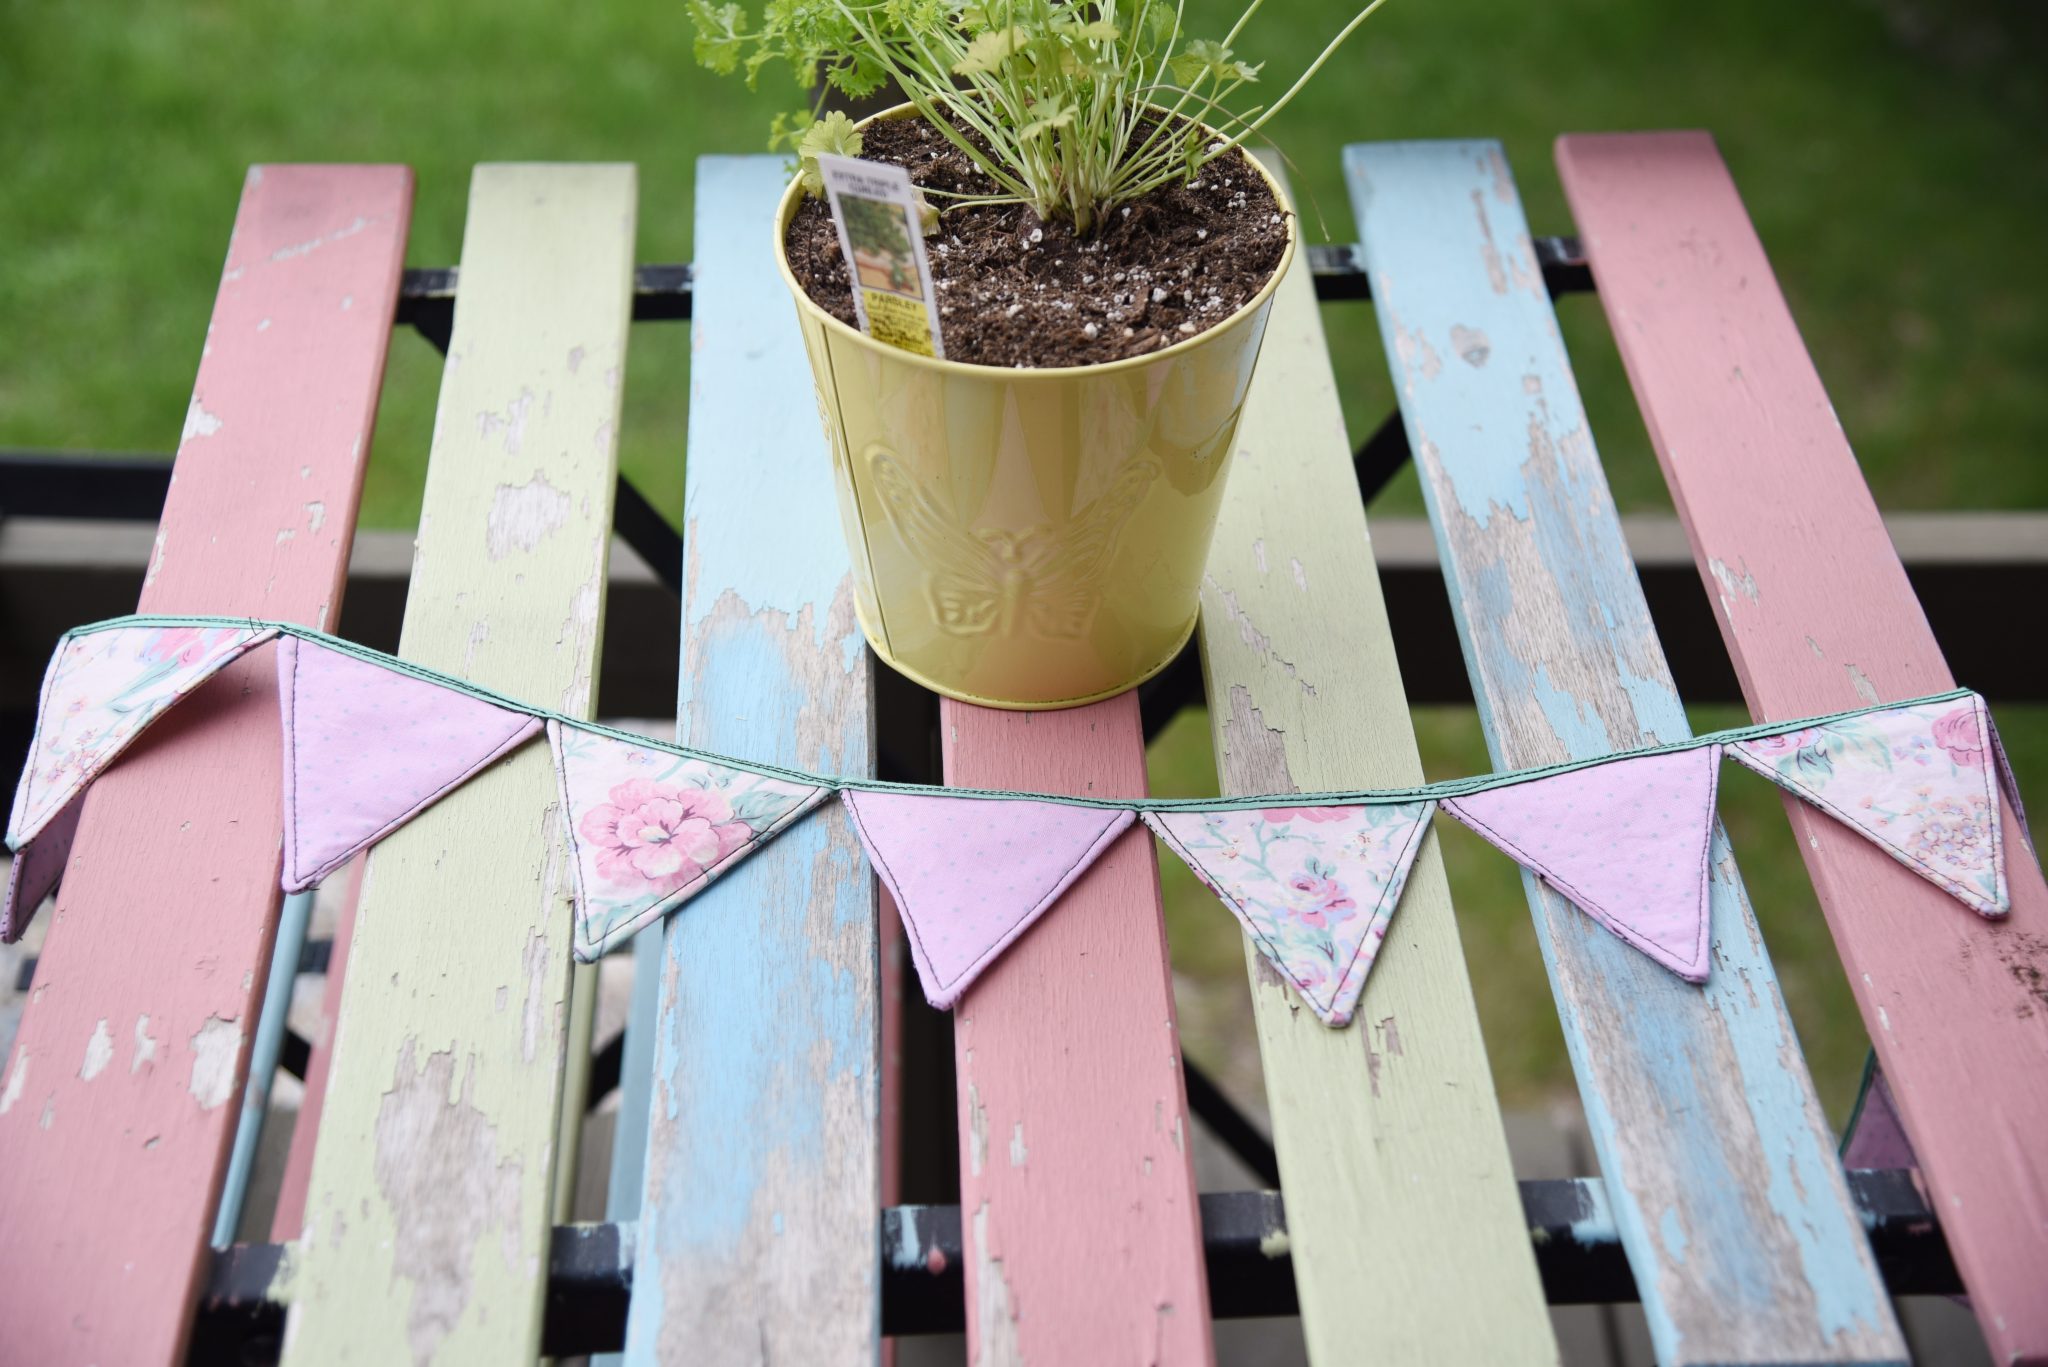
Then I top-stitched the triangles, mostly because I like what it looks like when the bunting garland is finished. You don’t have to follow this step, it’s really up to your personal preference!
Last but not least, we’re going to put the short side of the triangles into the bias tape and sew across it. This part ended up with really messy seams for me because the bias tape was pretty slim and the triangles pretty thick. (It also might have been the end of a long day and I could’t be bothered with unpicking the seam and doing it all again…) Here, I suggest to take your time and use thread that matches the colour of the bias tape because then it won’t show so much if your seams are a little wonky.


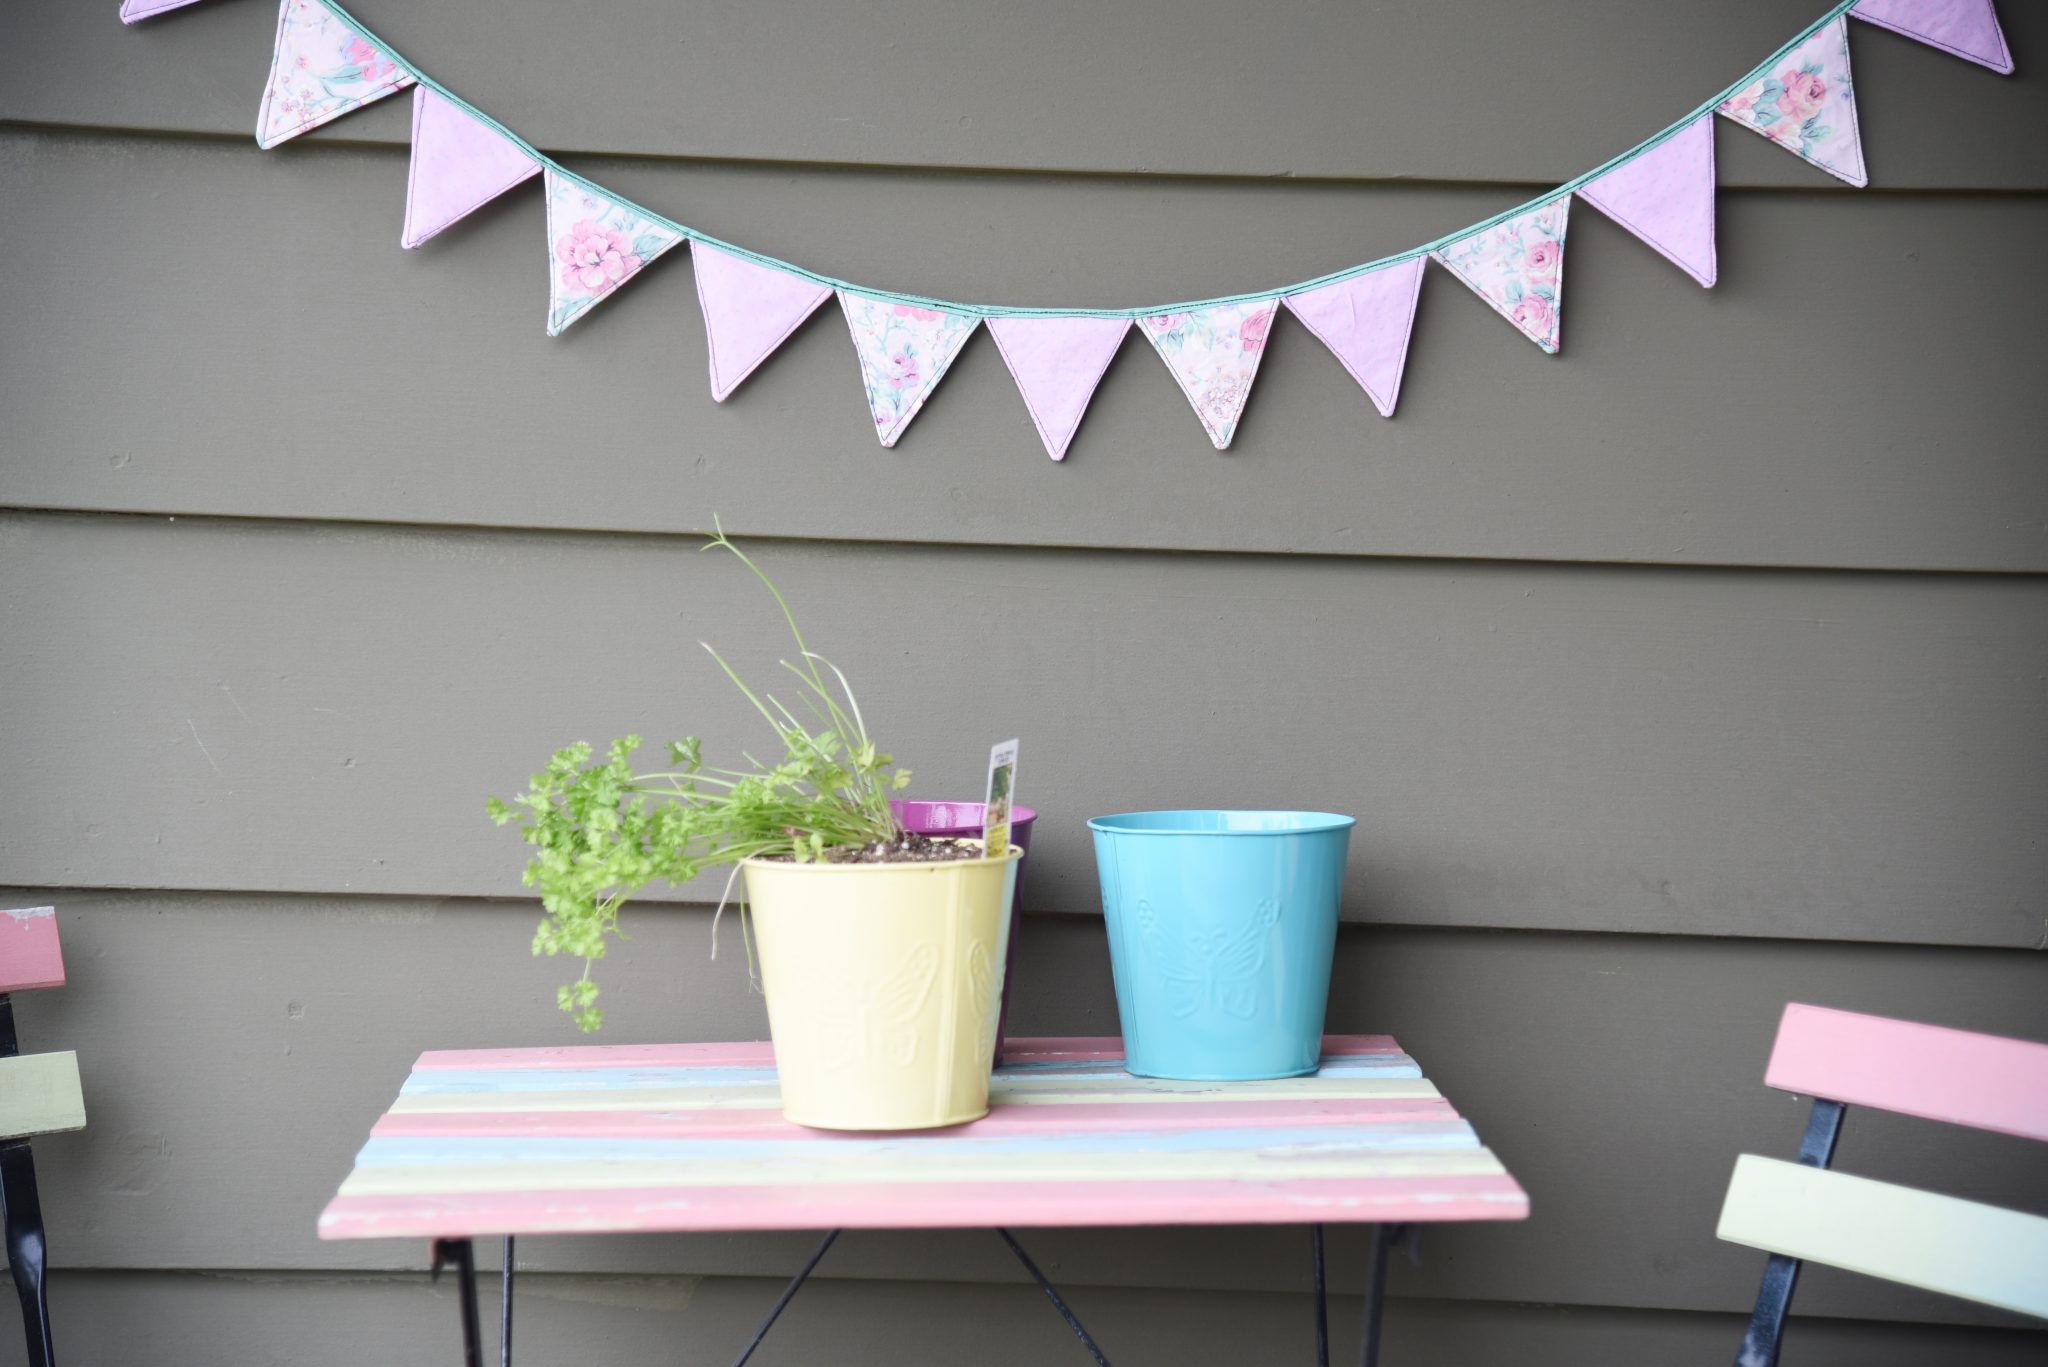
Even though this project isn’t as perfect as I would have liked it, I just love how it brightens up my front porch. It often frustrates me that we’re just renting and we don’t know for how long we’re going to stay in this place because I would love to paint a couple of walls, ceilings and stairs but there really is no point doing that when you might be moving somewhere else in just a few months. So using garlands, paintings, pictures and all kinds of decorations is my way of making my living quarters a little bit more funky!
If you decideded to follow along, how did it go for you? Did you have a better experience sewing the bias tape then me? How did you do it?
With love from the Maple And Oak Diaries,
? Leonie?


