
The Vintage Fabric Patch
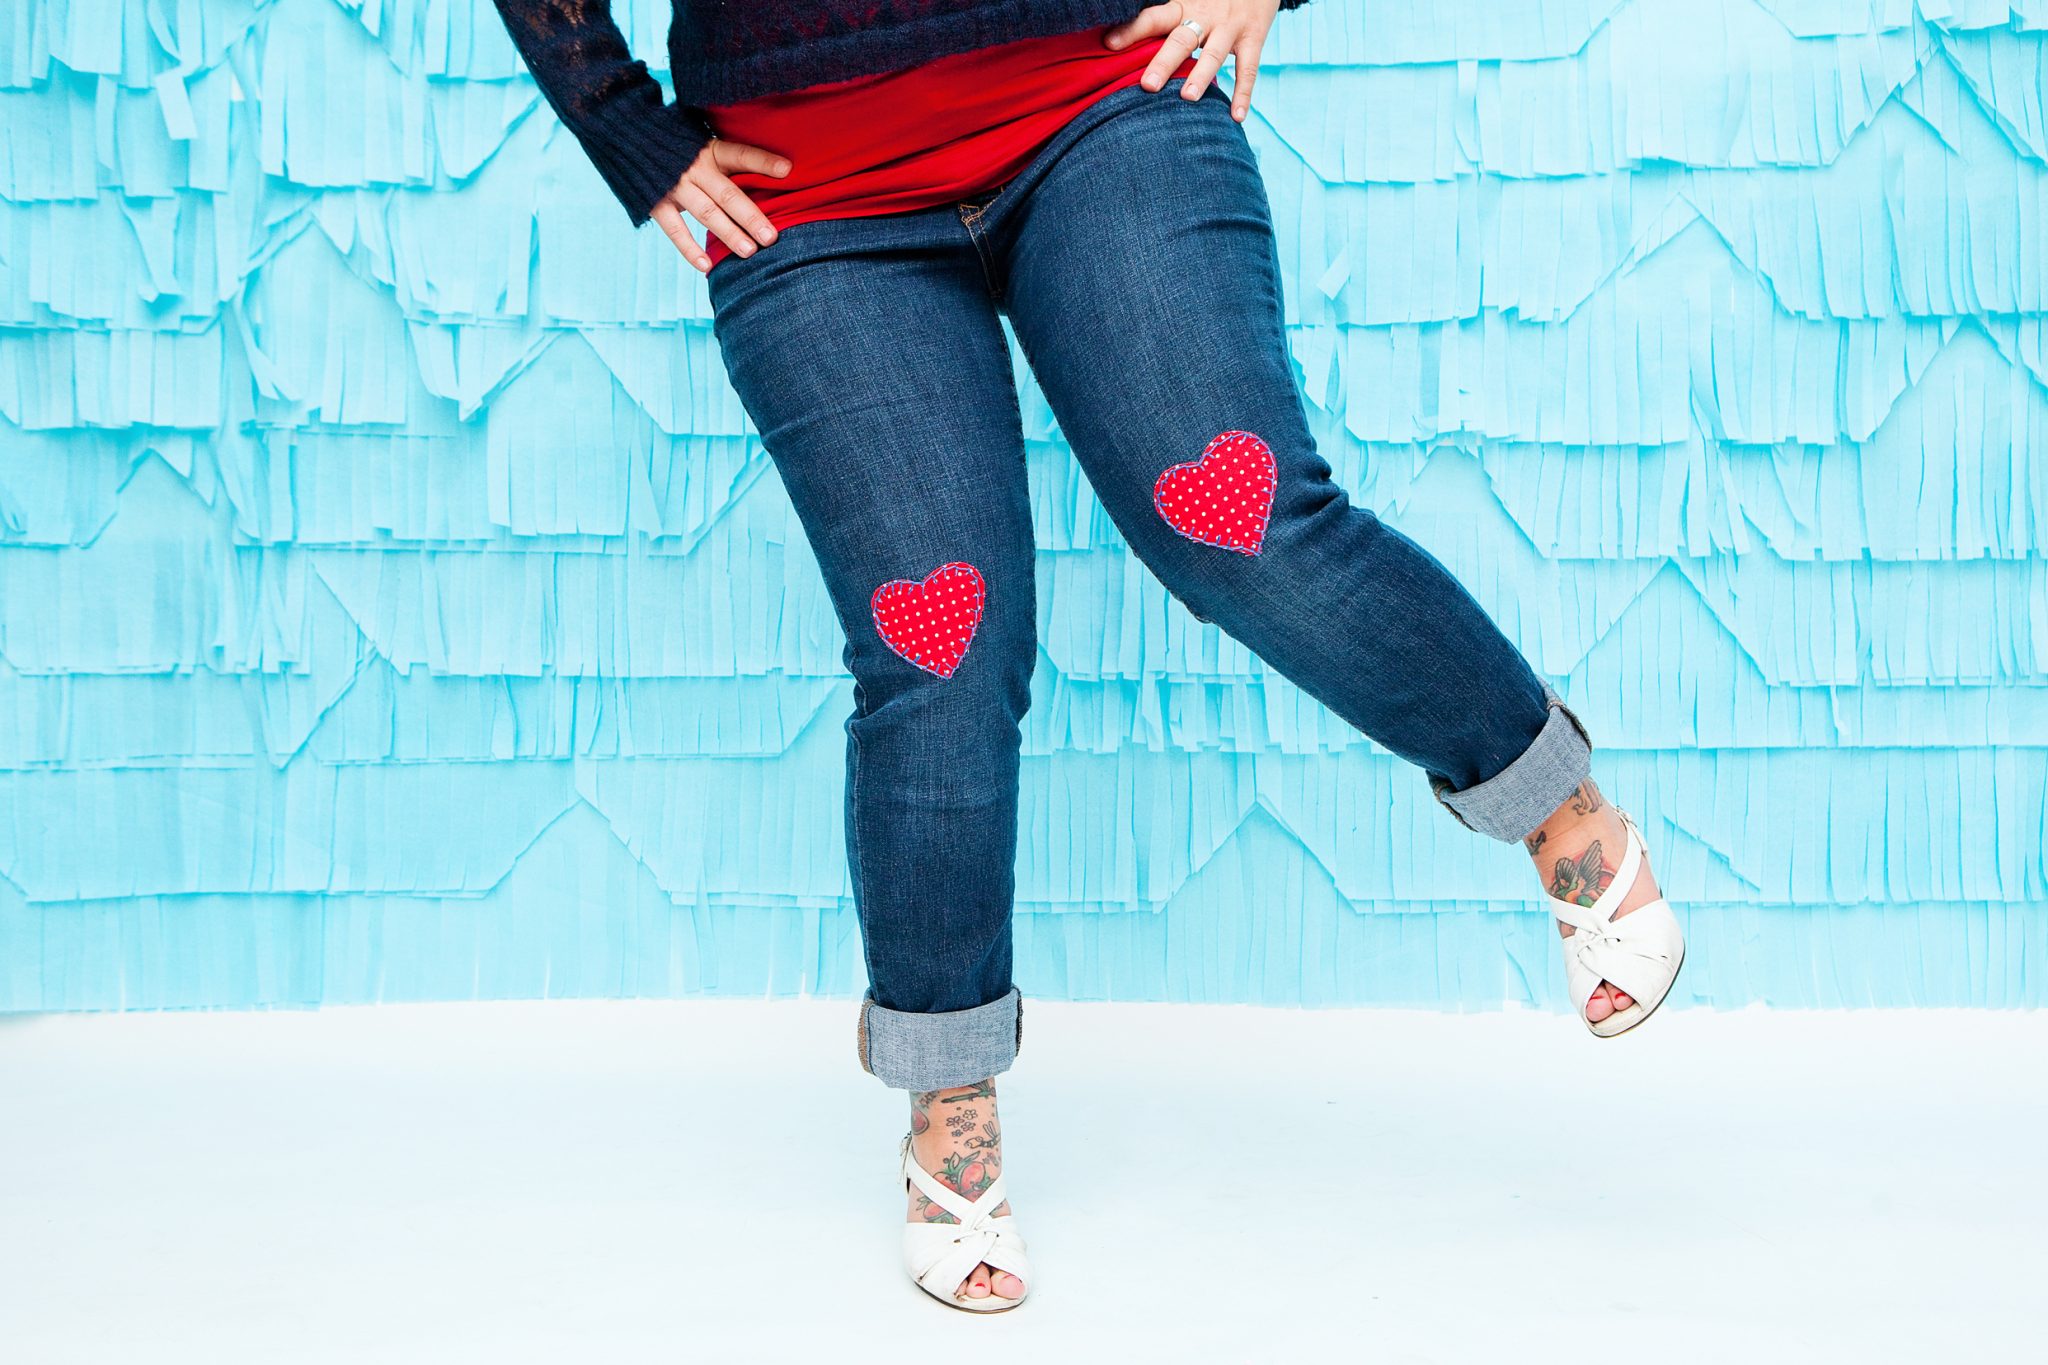
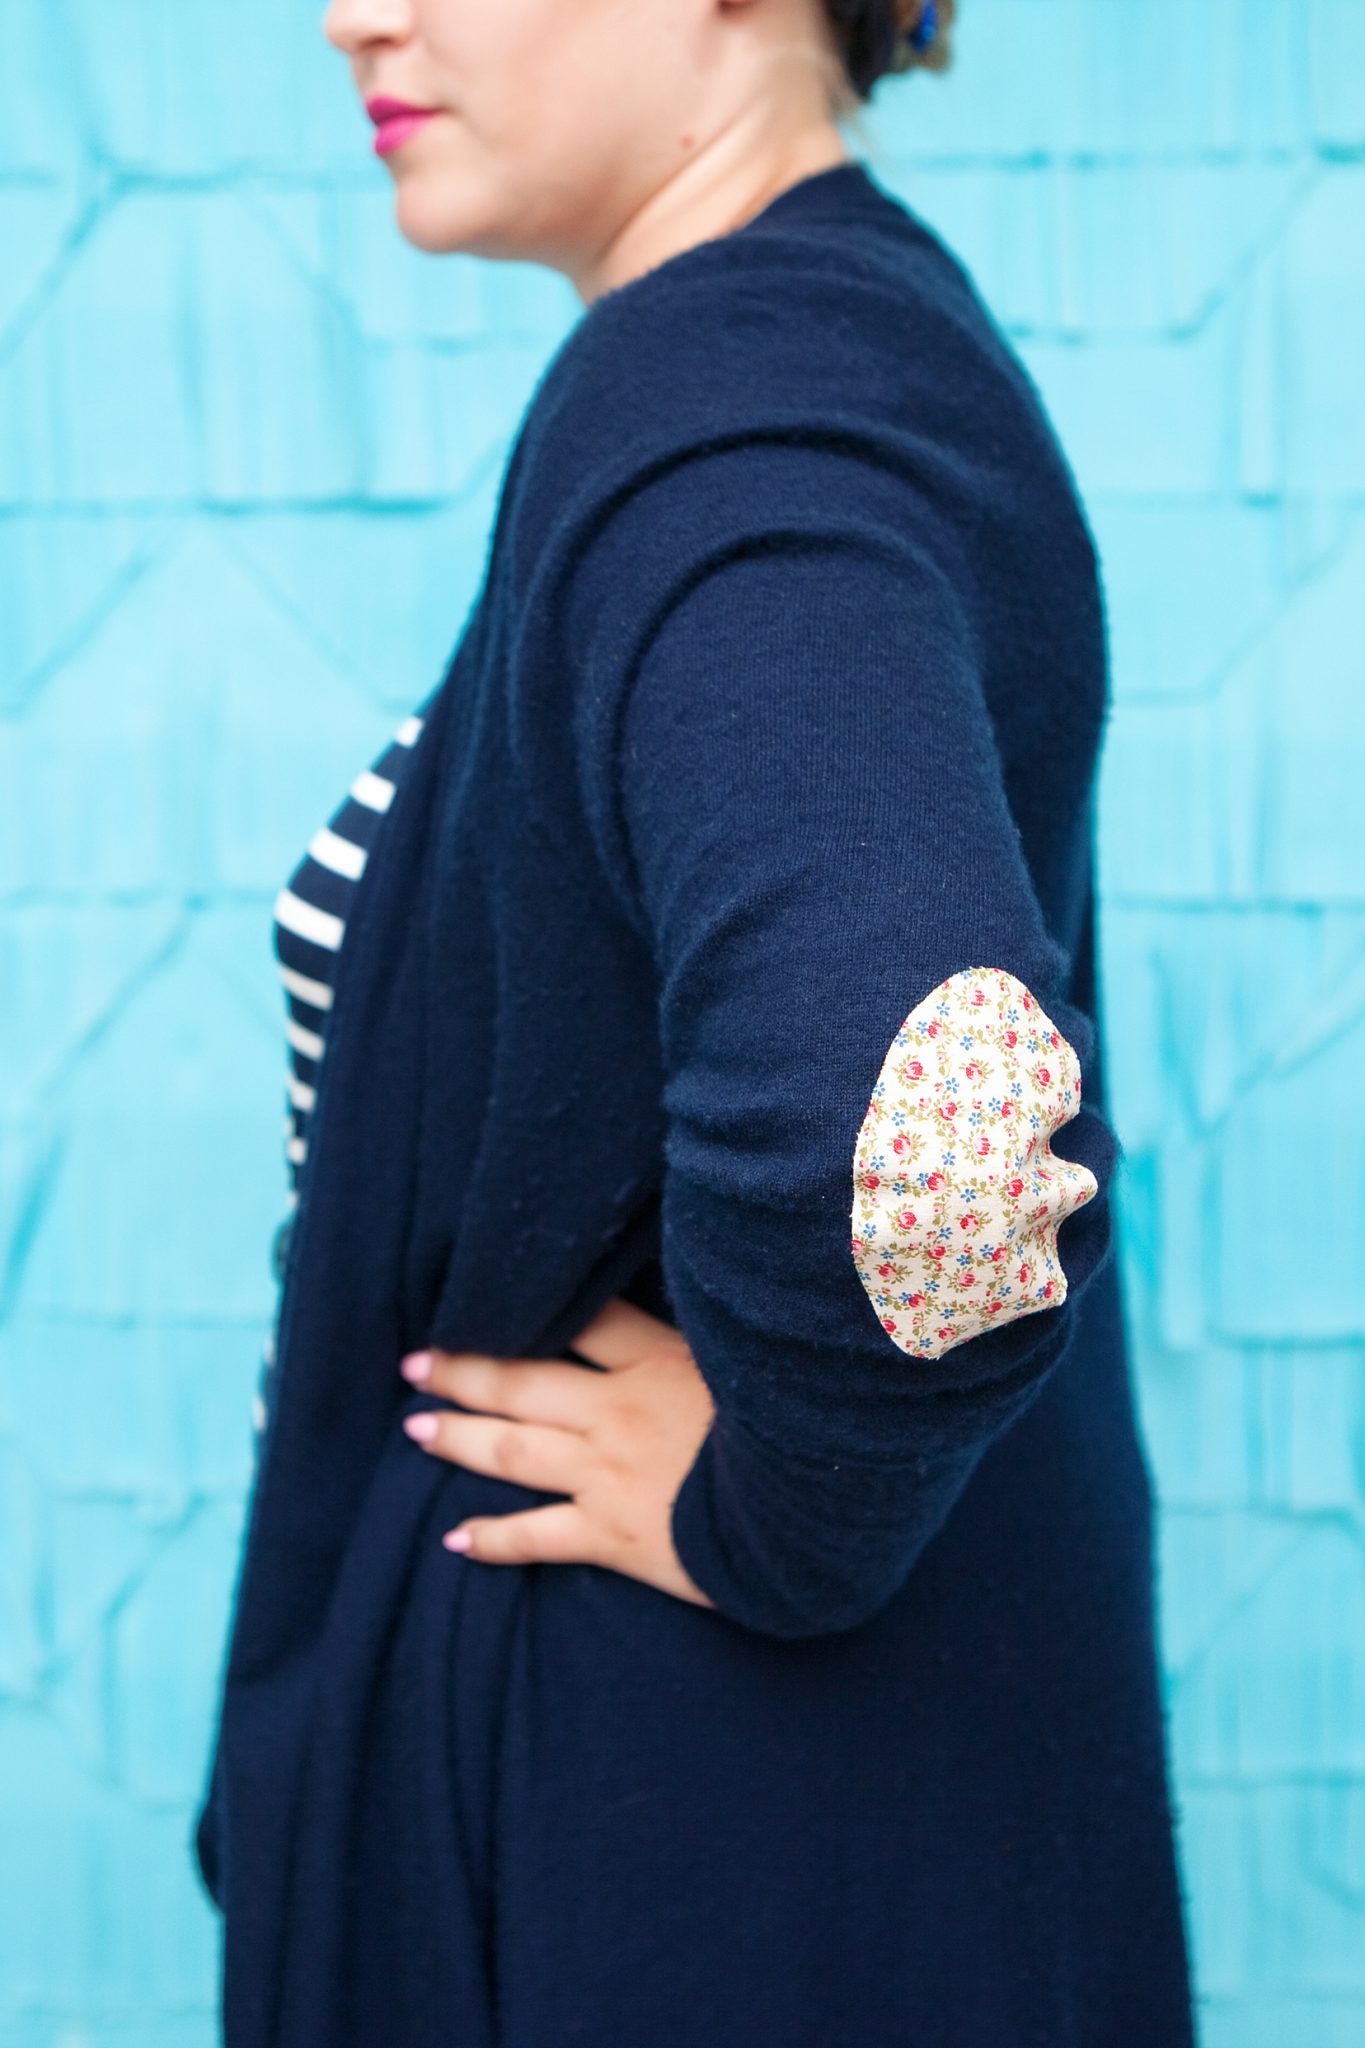
Jippy! It’s time to introduce a new product: I’ve been making iron-on vintage fabric patches. Aren’t they just adorable? They look amazing on jeans, jean jackets or even just as a cute craft project in an embroidery frame. One project I used them for, was my funky embroidered jean jacket – serious colour love!
In this blog post, I will explain to you how to attach them to another fabric and give you some ideas about what you could do with your vintage fabric patch.
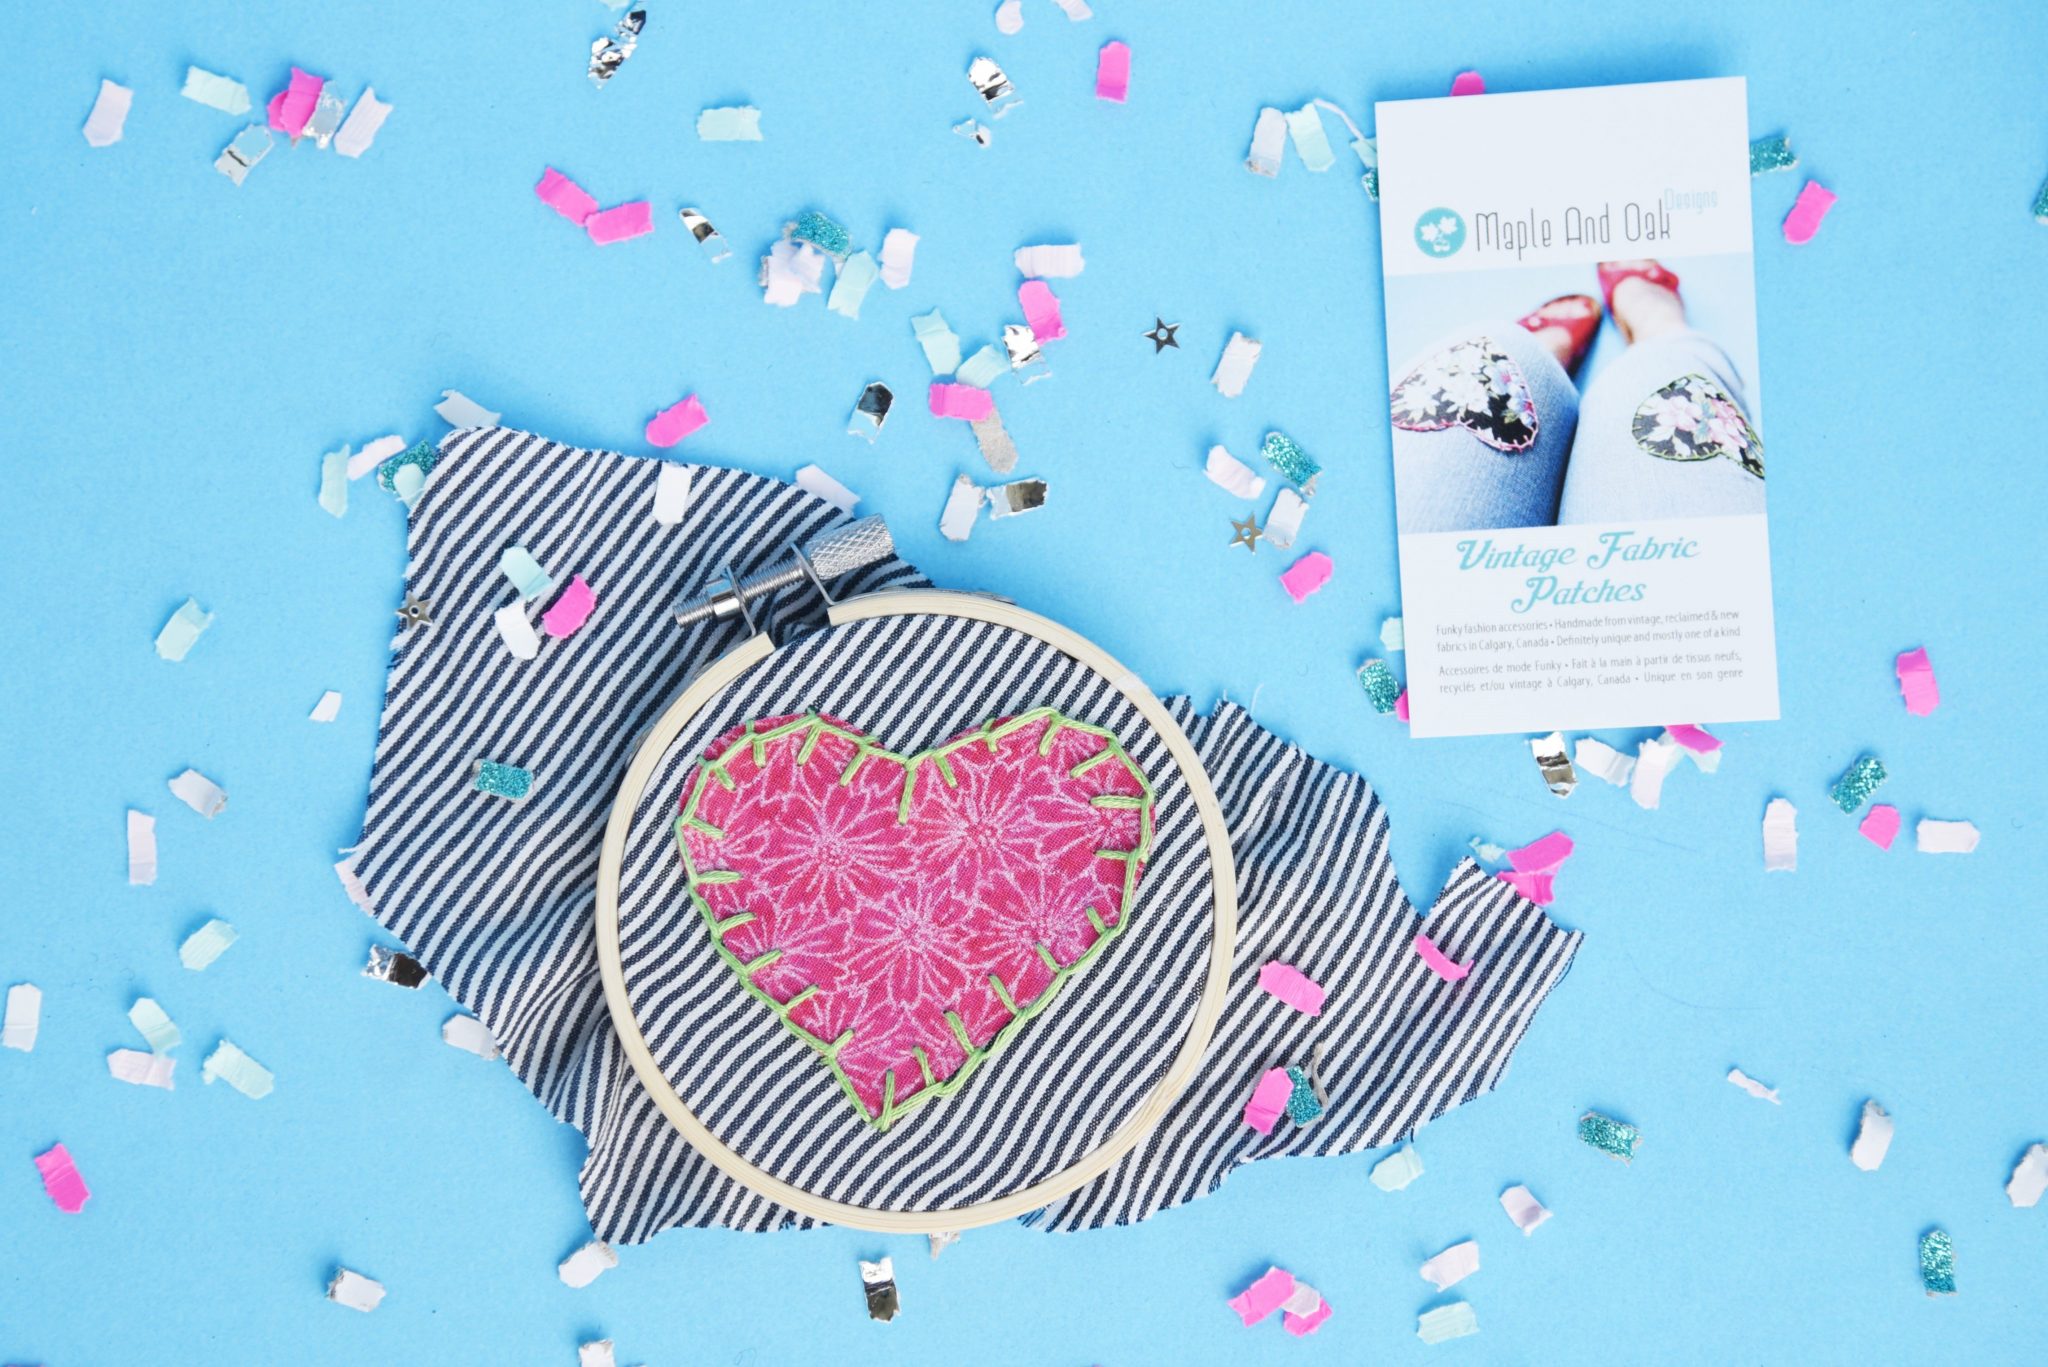
In each packet you will find 2 iron-on vintage fabric patches + some embroidery floss. You don’t need to embroider the patches but it makes for a super cute look!
(The Alt Summit sample pack contains just one fabric patch!)
Iron-on instructions
You will need: your iron, the patches and the clothes or fabric you want to adorn with your patches.

- Very carefully peel off the paper backing – with the heart shaped ones, I find it easiest to start at the rounded side. The ‘wrong’ side of your fabric patch should be shiny.
- Set your iron to the ‘cotton’ setting + wait until it’s hot.
- Place your patch with the shiny side down on your clothes.
- Press with the iron down on your patch for about 5 – 8 seconds. At first, I don’t move the iron at all, to make sure the patch stays exactly where I want it to be. Once it’s glued in place, I move the iron over it a couple of times to make sure it sticks at the edges as well.
That already looks super cute, doesn’t it?
5. If you don’t want to embroider the edge, I would always quickly sew around the patch with a sewing machine (or even by hand), because the edges might fray a little when you wash your clothes. You can wash your clothes in the washing machine but with cold water and a gentle washing cycle. I would hang them to dry.
How to embroider the edges
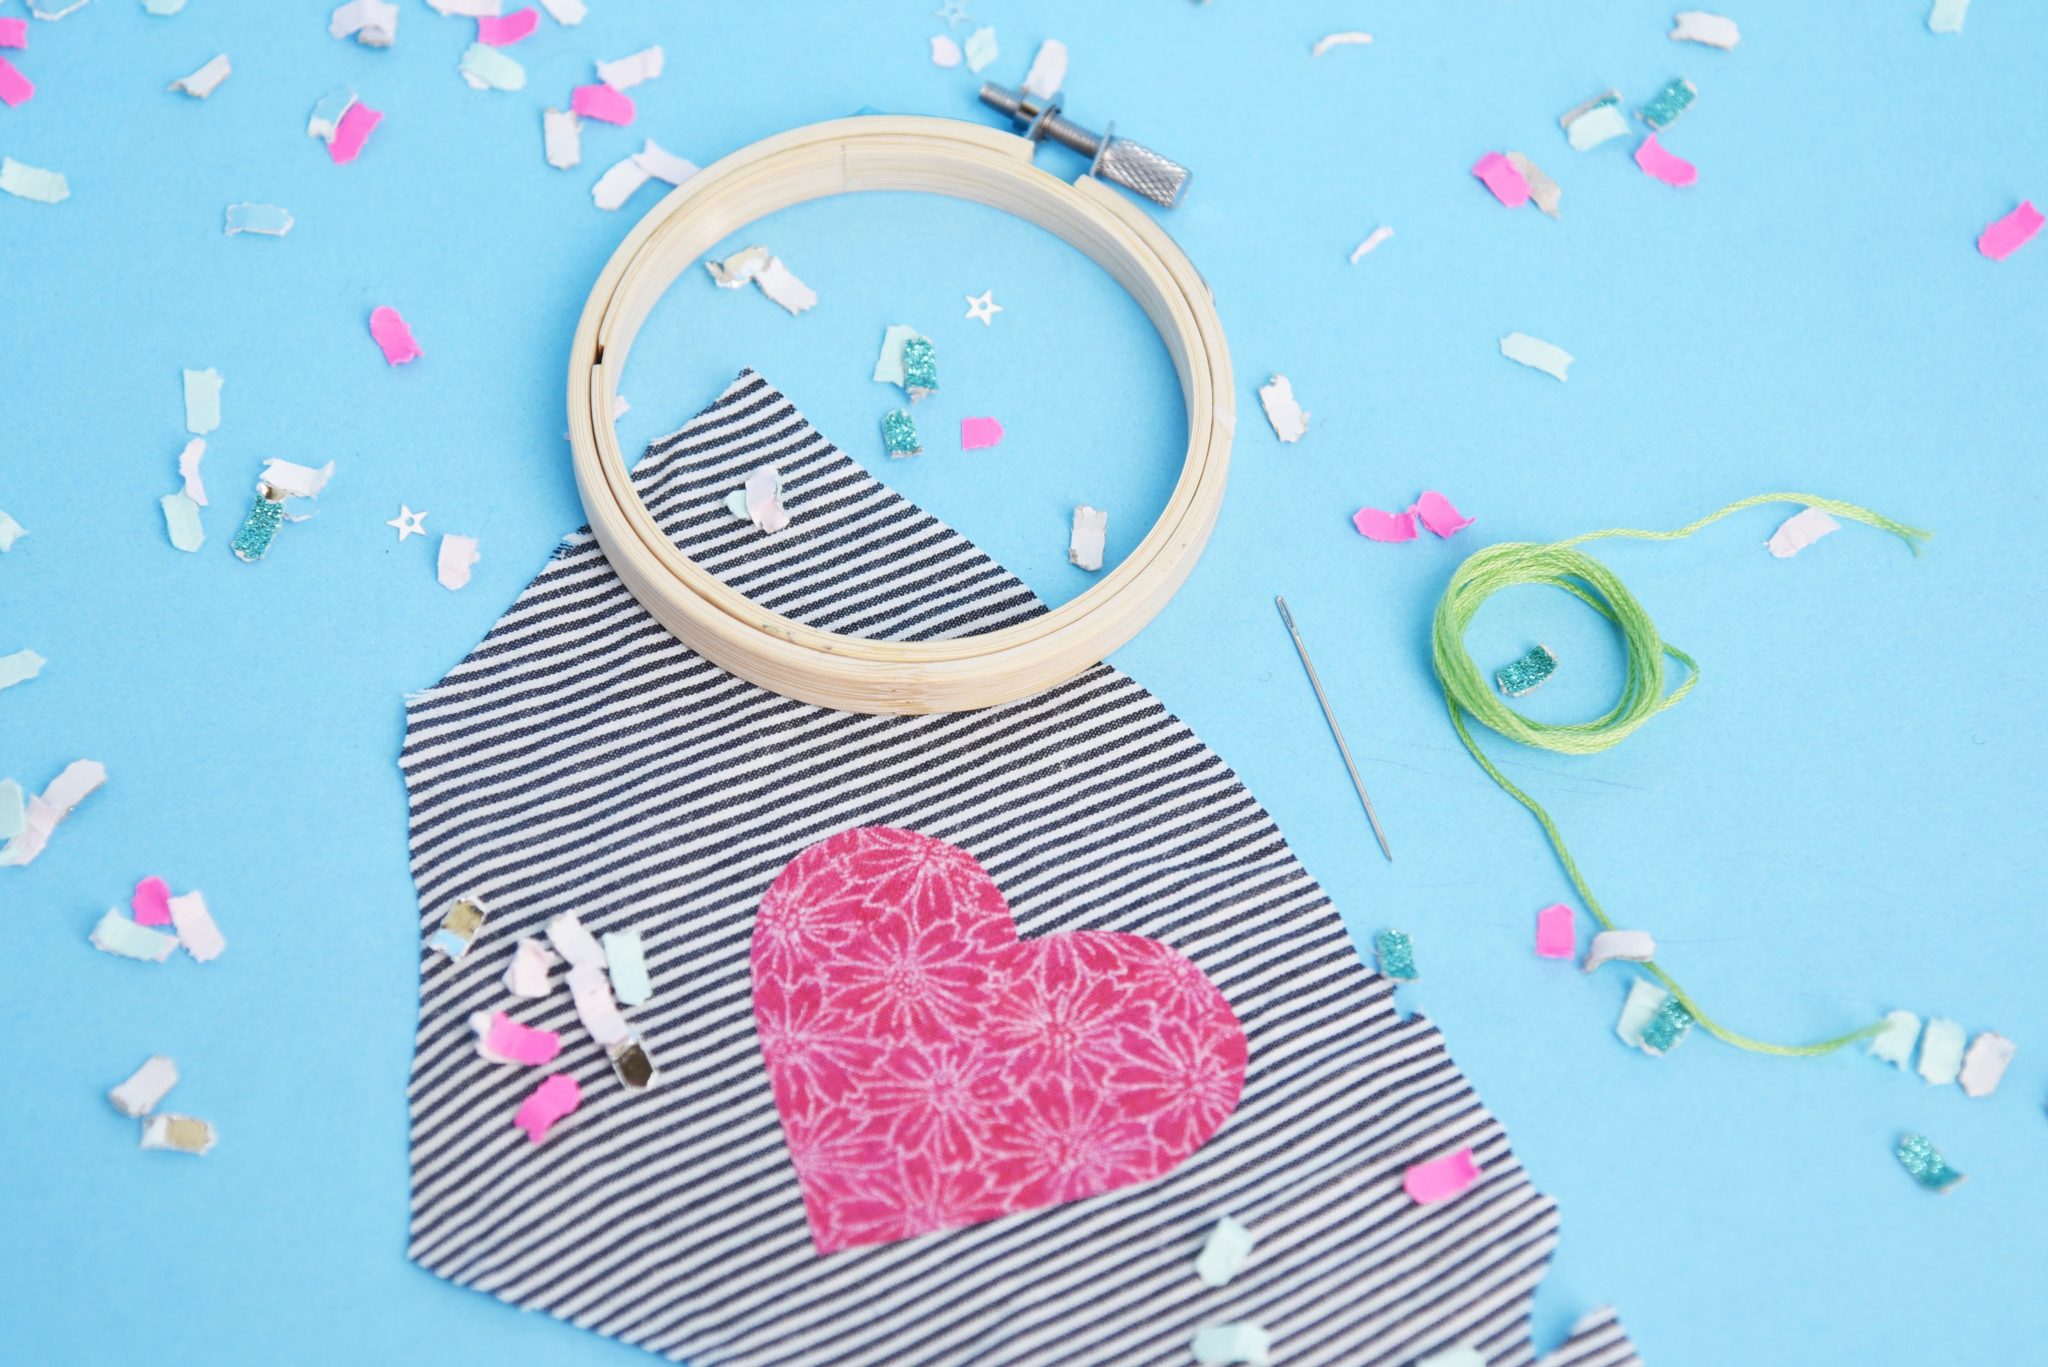
You will need: Your clothes with the patch that you just ironed-on, an embroidery needle and the embroidery floss your patch came with (or any other embroidery floss you might like better). An embroidery hoop can help but is not neccessary.
Now we’re ready to go. Oh, this is the fun part!
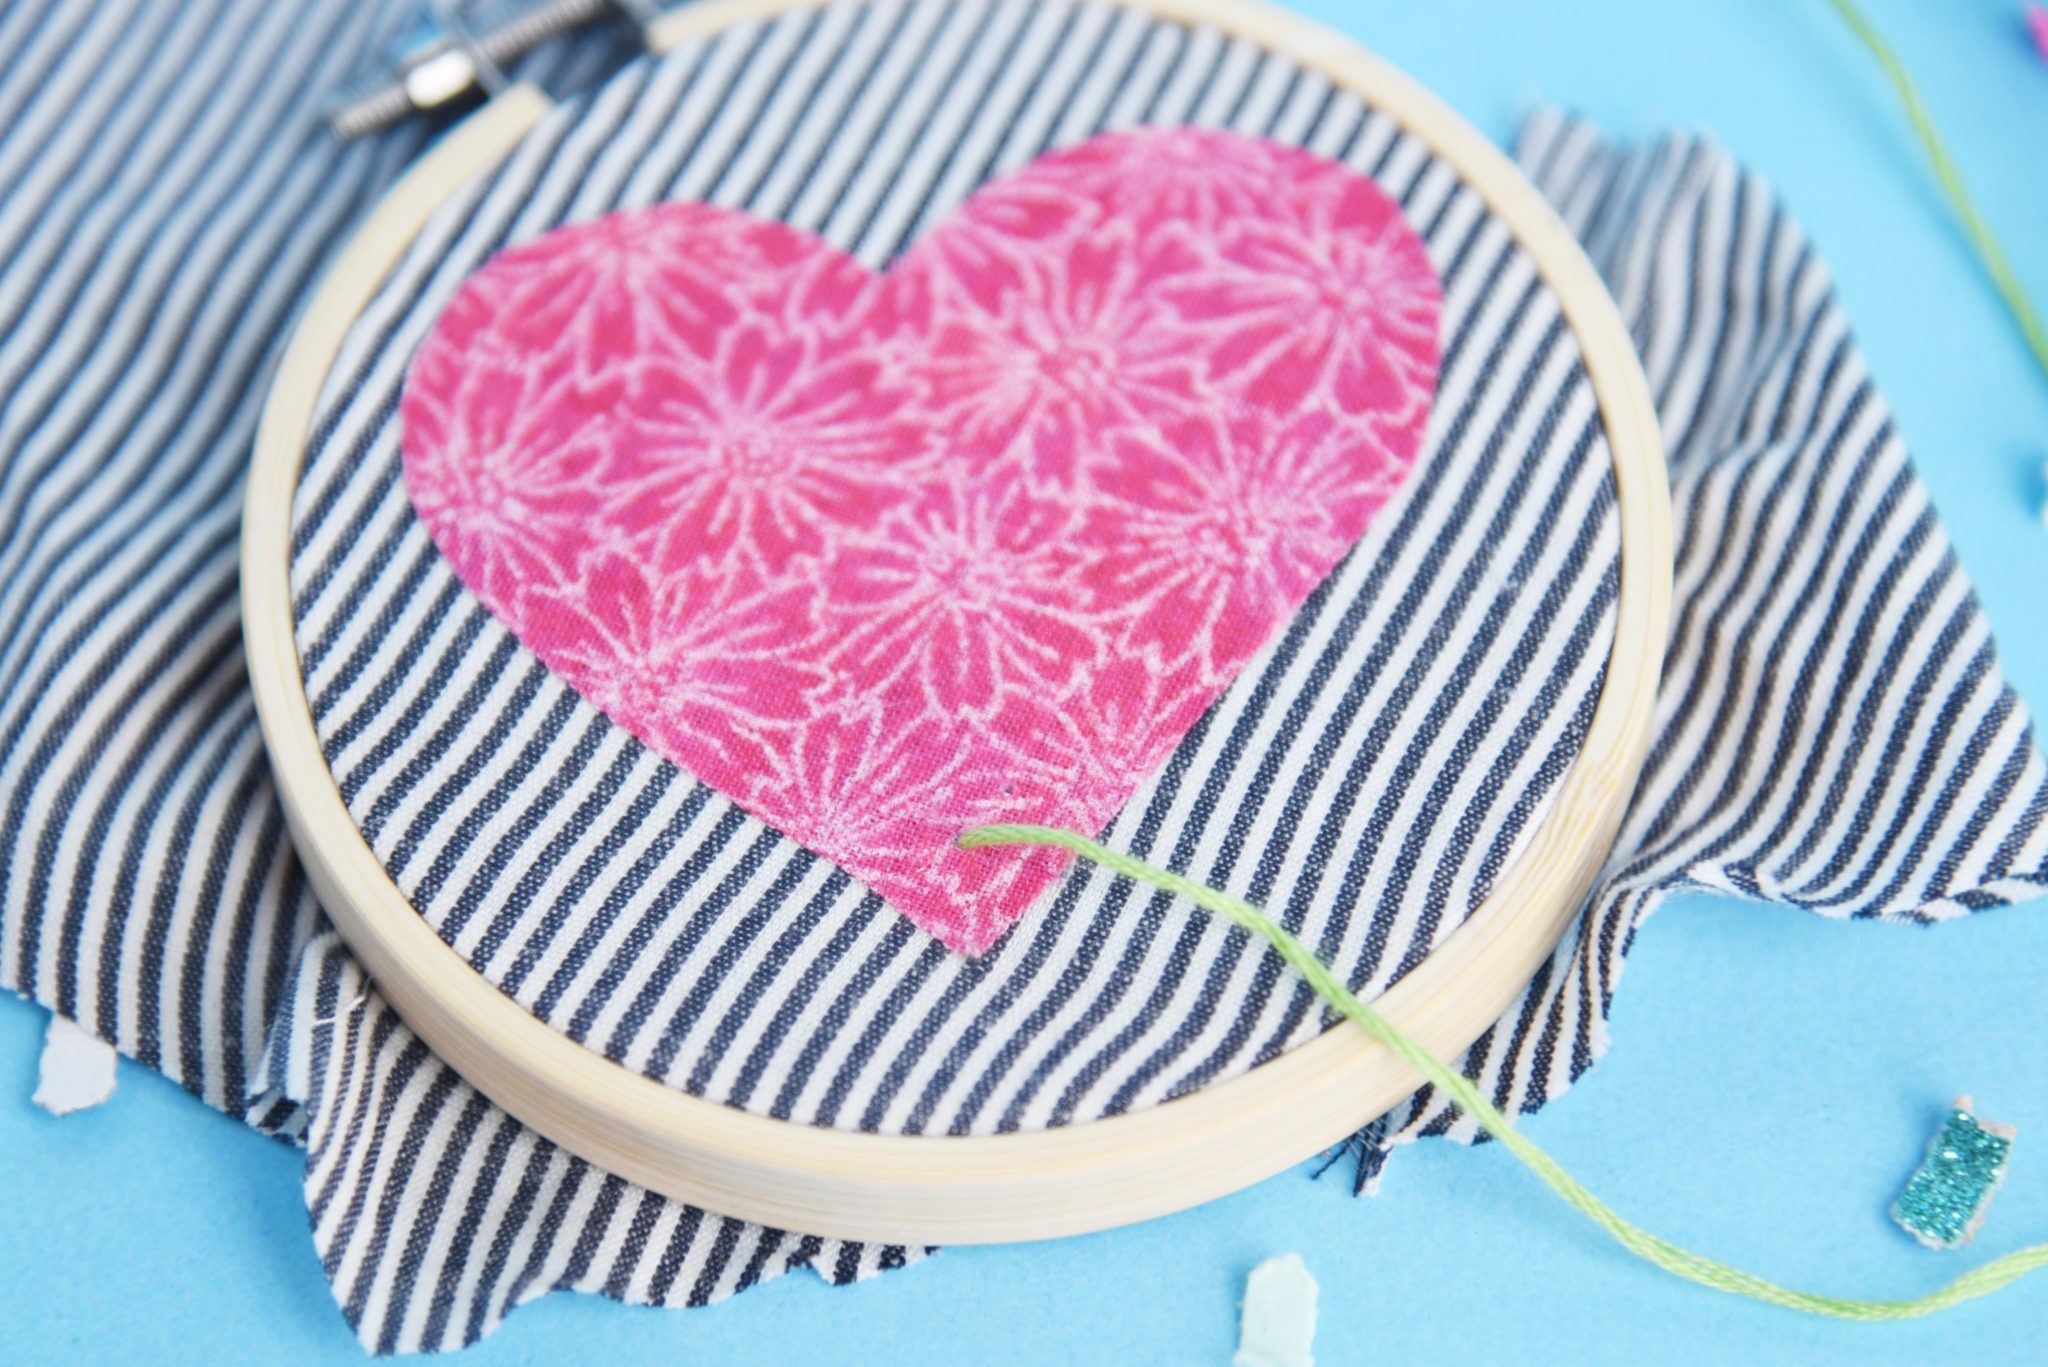
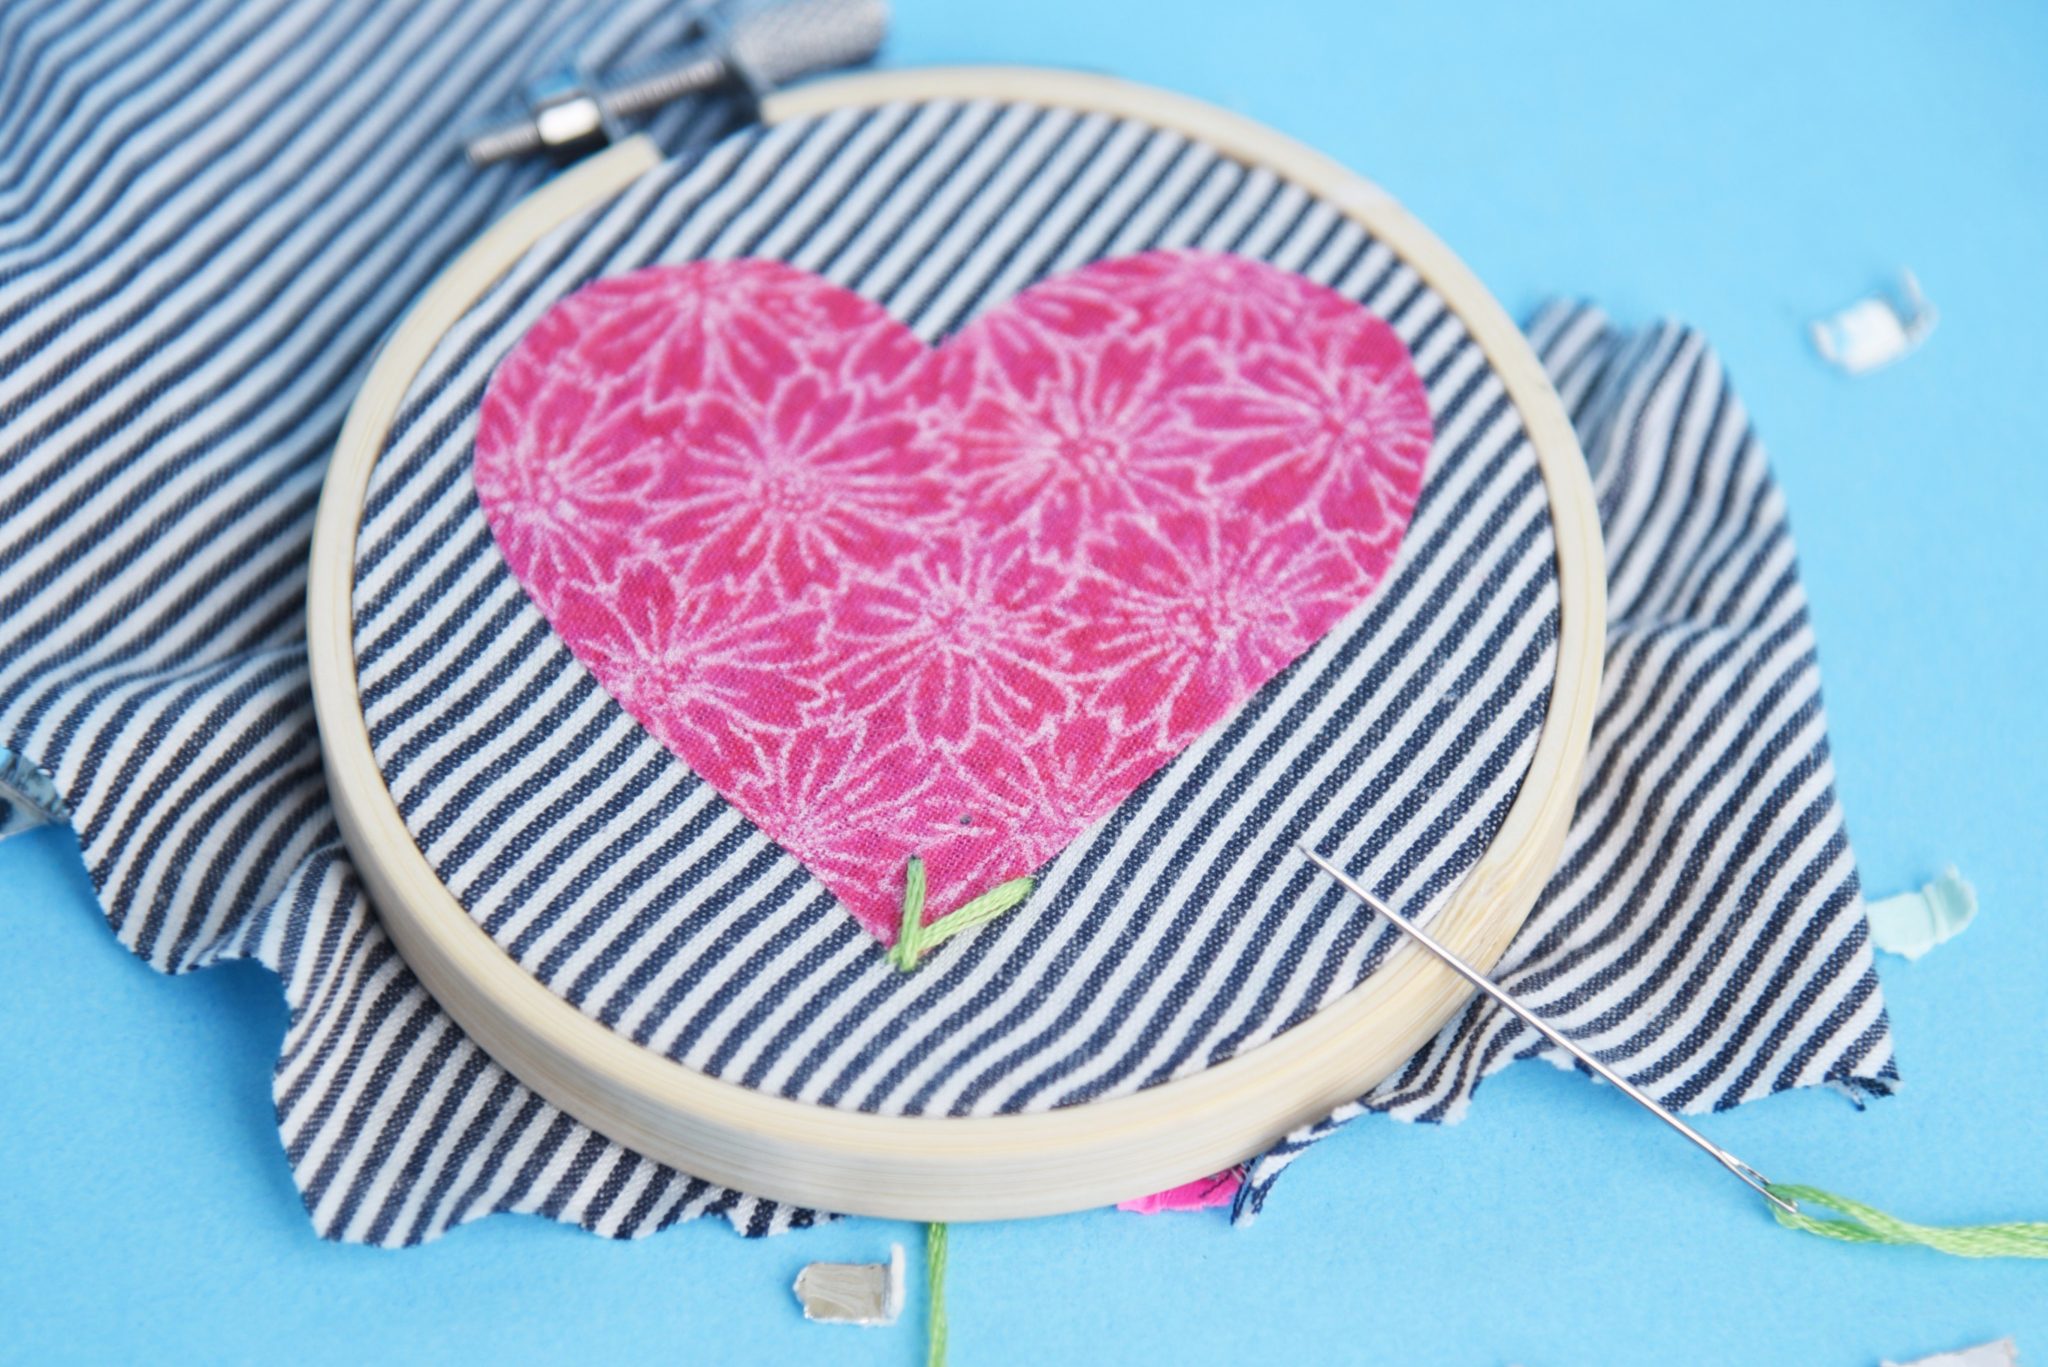
- Thread the floss through the needle. (I always bite the end of the floss to make it easier to thread.) Put a knot into the end of your floss. Then start from the back side and come up about half a centimetre from the edge of your patch. (pic 1)
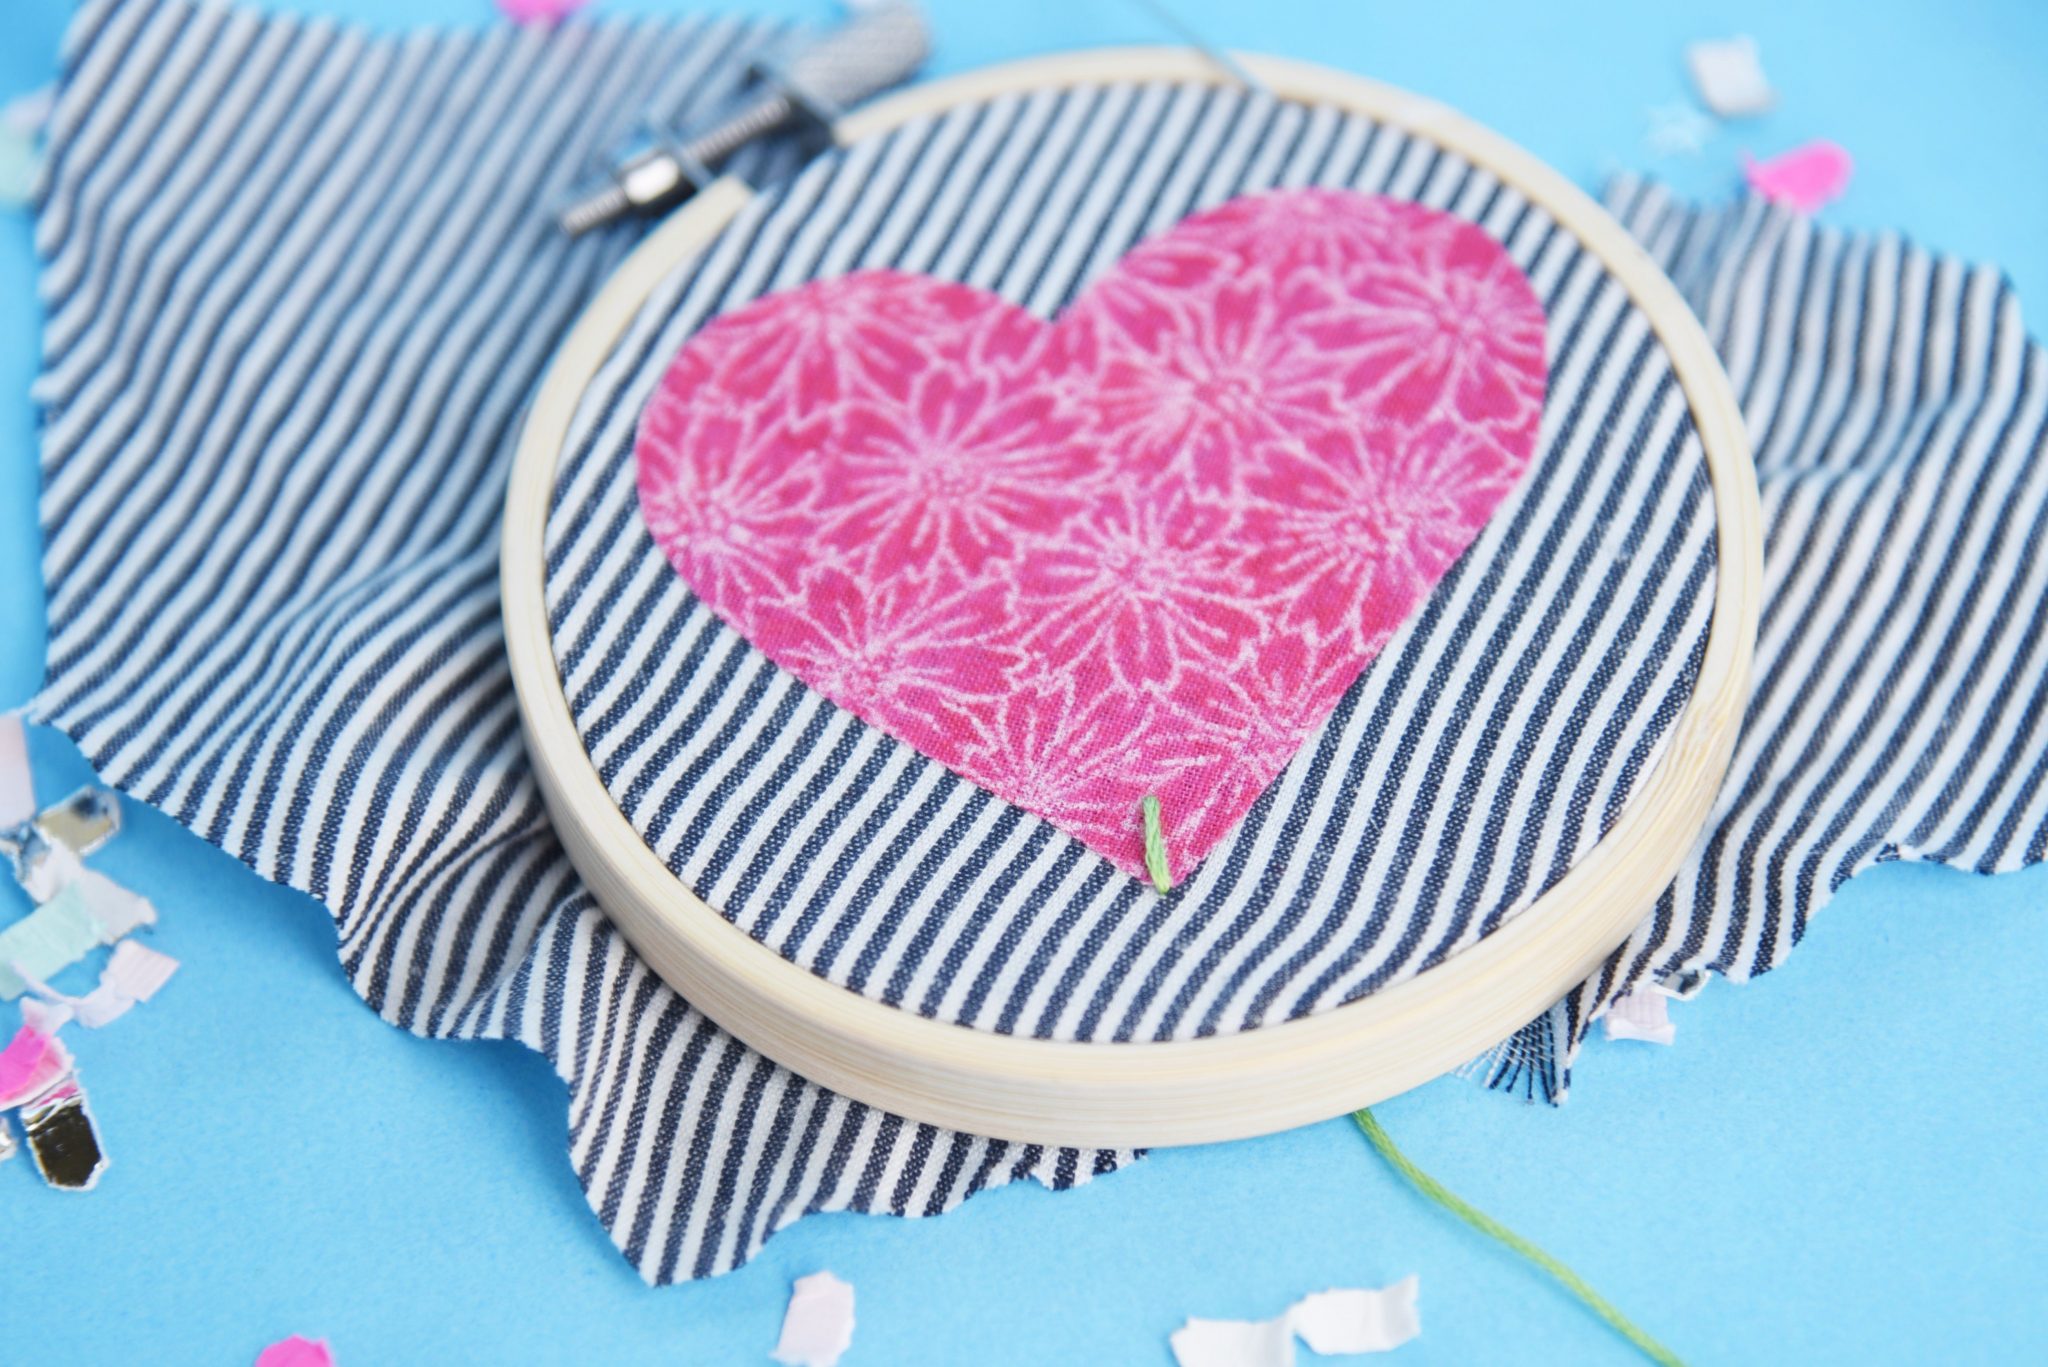
- Go back down just off of your patch. (pic 2)
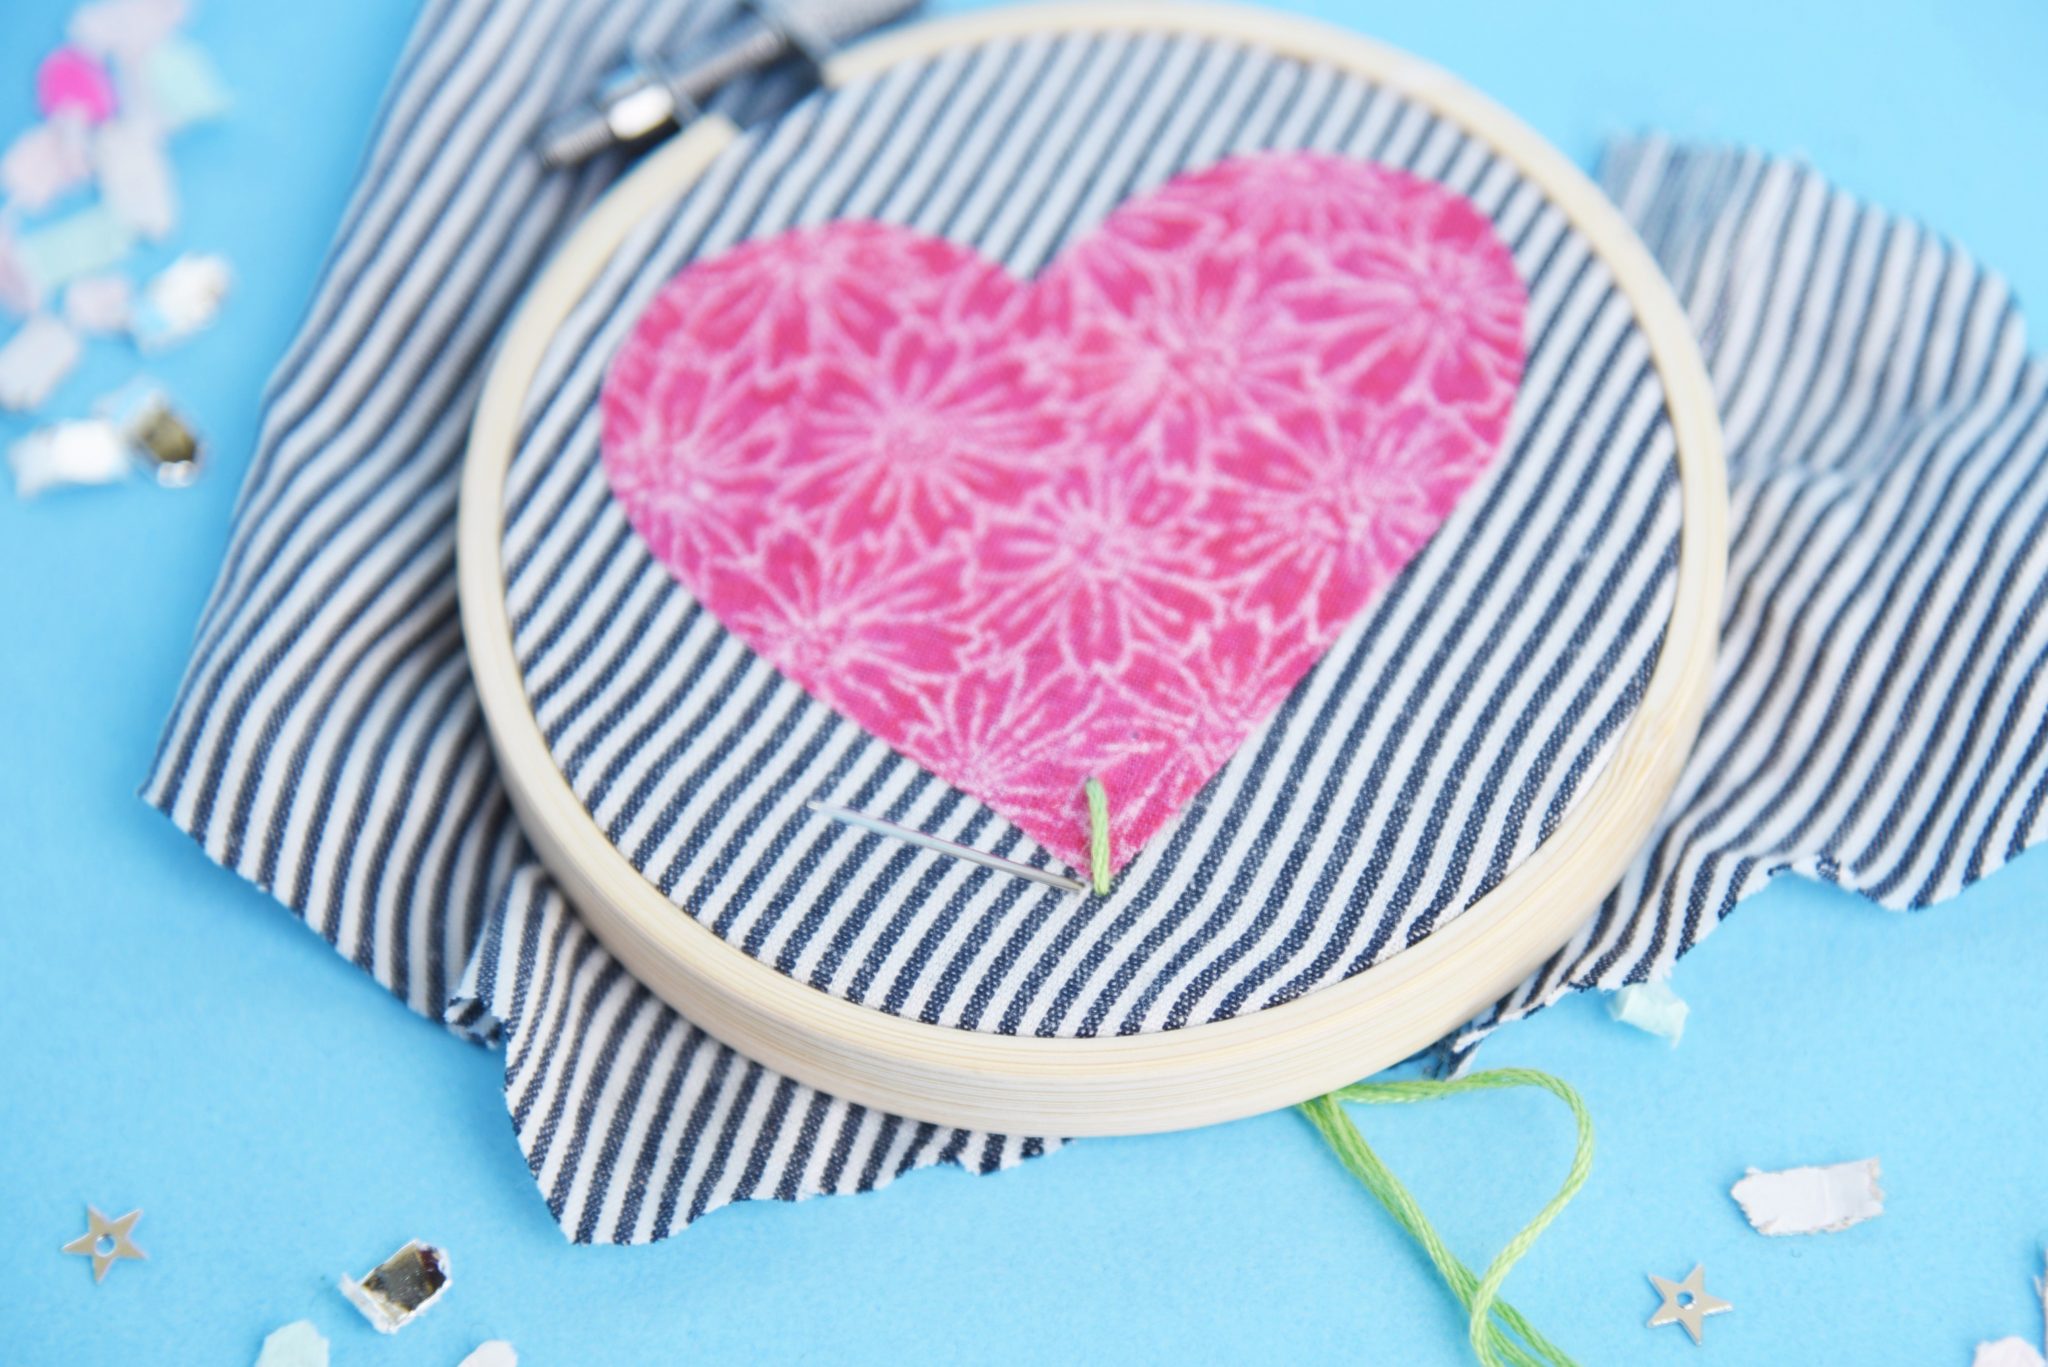
- And then come back up just to the left of where you went down. (pic 3)
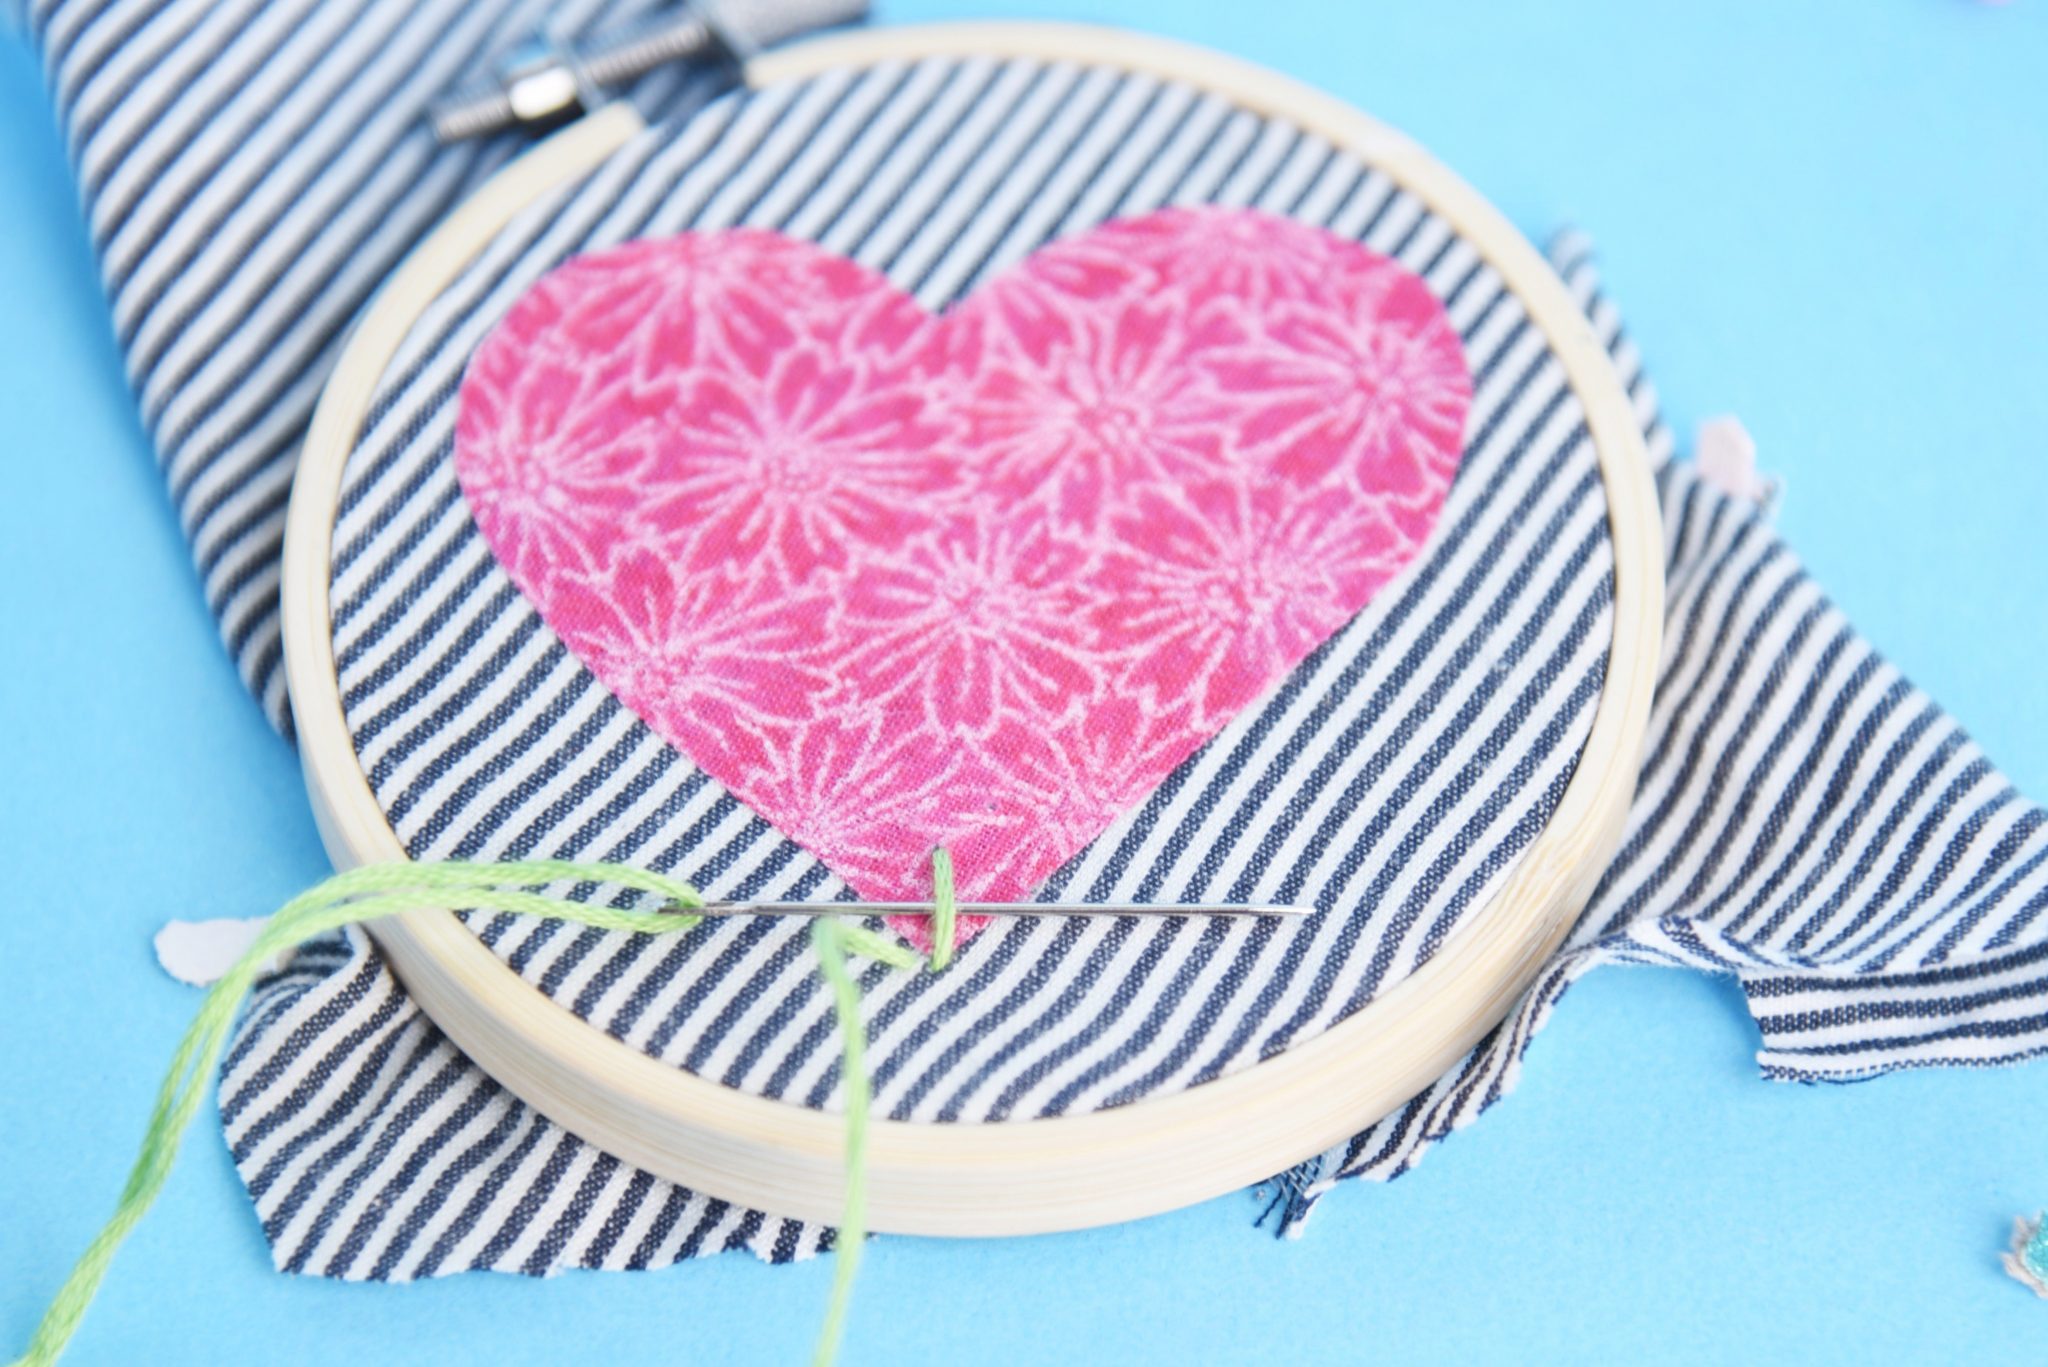
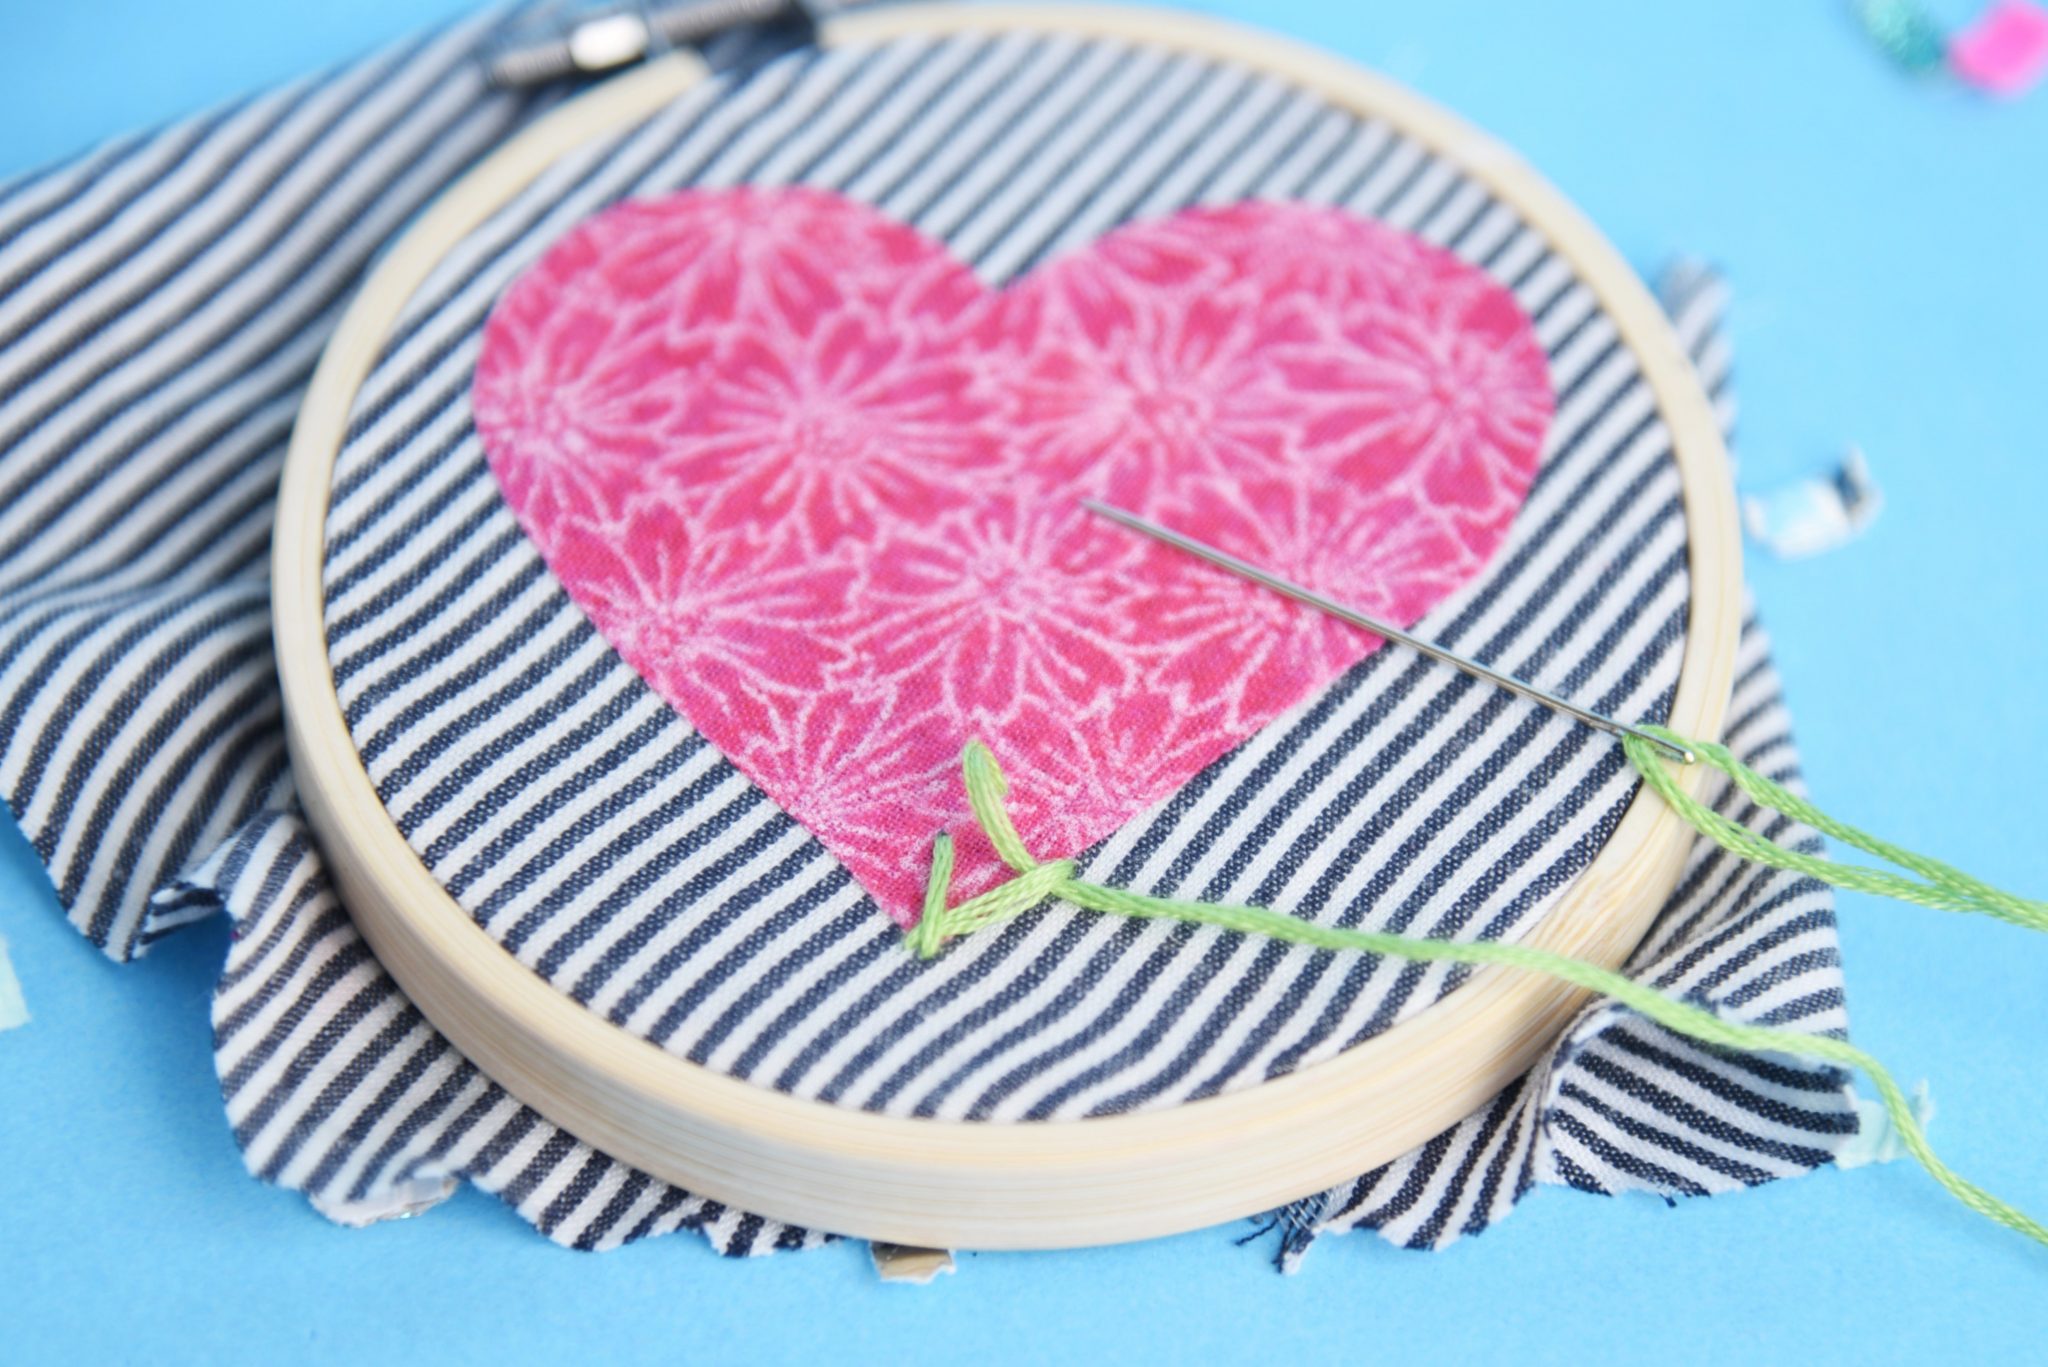
- Slide under your thread and go back down again just of off your vintage fabric patch. (pic 4 + 5)
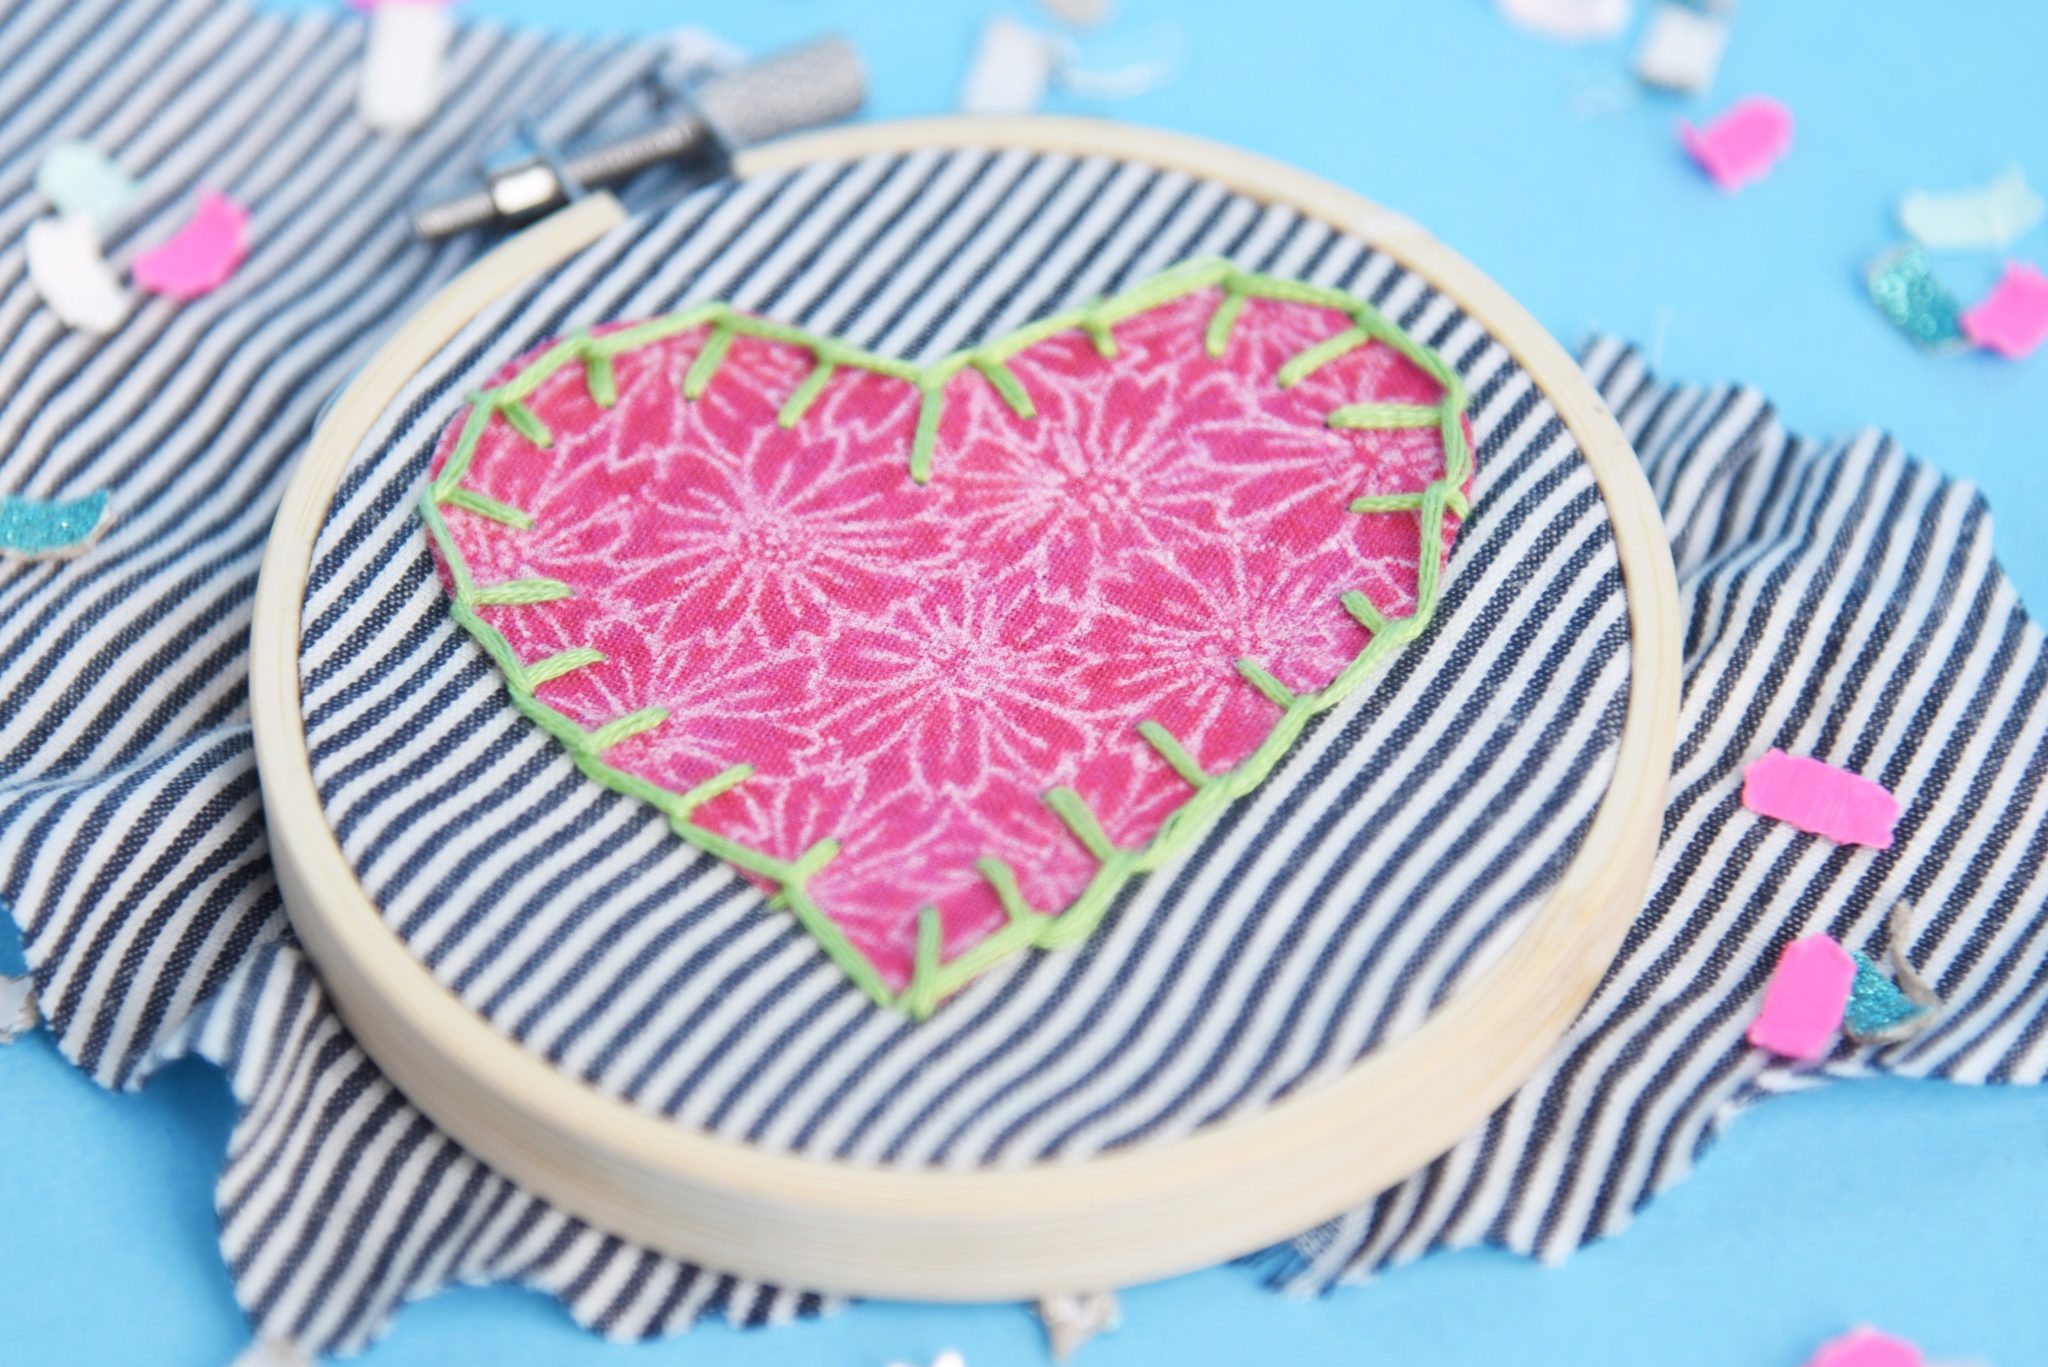
- Come back up parallel to where you came up at the very beginning and repeat until you made your way around the vintage fabric patches. (pic 6)
- Then go down, knot at the backside and snip off the remaining floss so you can use it for the second patch.
Now that wasn’t too difficult, was it? Well, should you have any questions, don’t hesitage to email me at leonie@mapleandoakdesigns.com – I’ll do my best to help you out!
With love from the Maple And Oak Diaries,
❤ Leonie❤


This so superb! I love the fact that I’ve never seen something lovely way of patching before.
Thanks for sharing
Hey Leonie,
Vintage fabric patch looks just adorable. Red heart looks very cool on blue jeans. You embroidered the edges very finely which gives crispy look to beautiful patch.
That is so sweet of you to say! Thank you, Maria!
[…] I finally managed to finish one of them! When I made vintage fabric patches a while ago, I thought it would look so neat in an embroidery. Ironed it on, left Calgary, went […]